✨To support my free patterns, this post includes affiliate links for materials I love. Thank you for your support! 💖
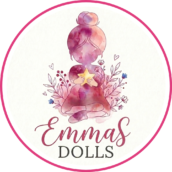
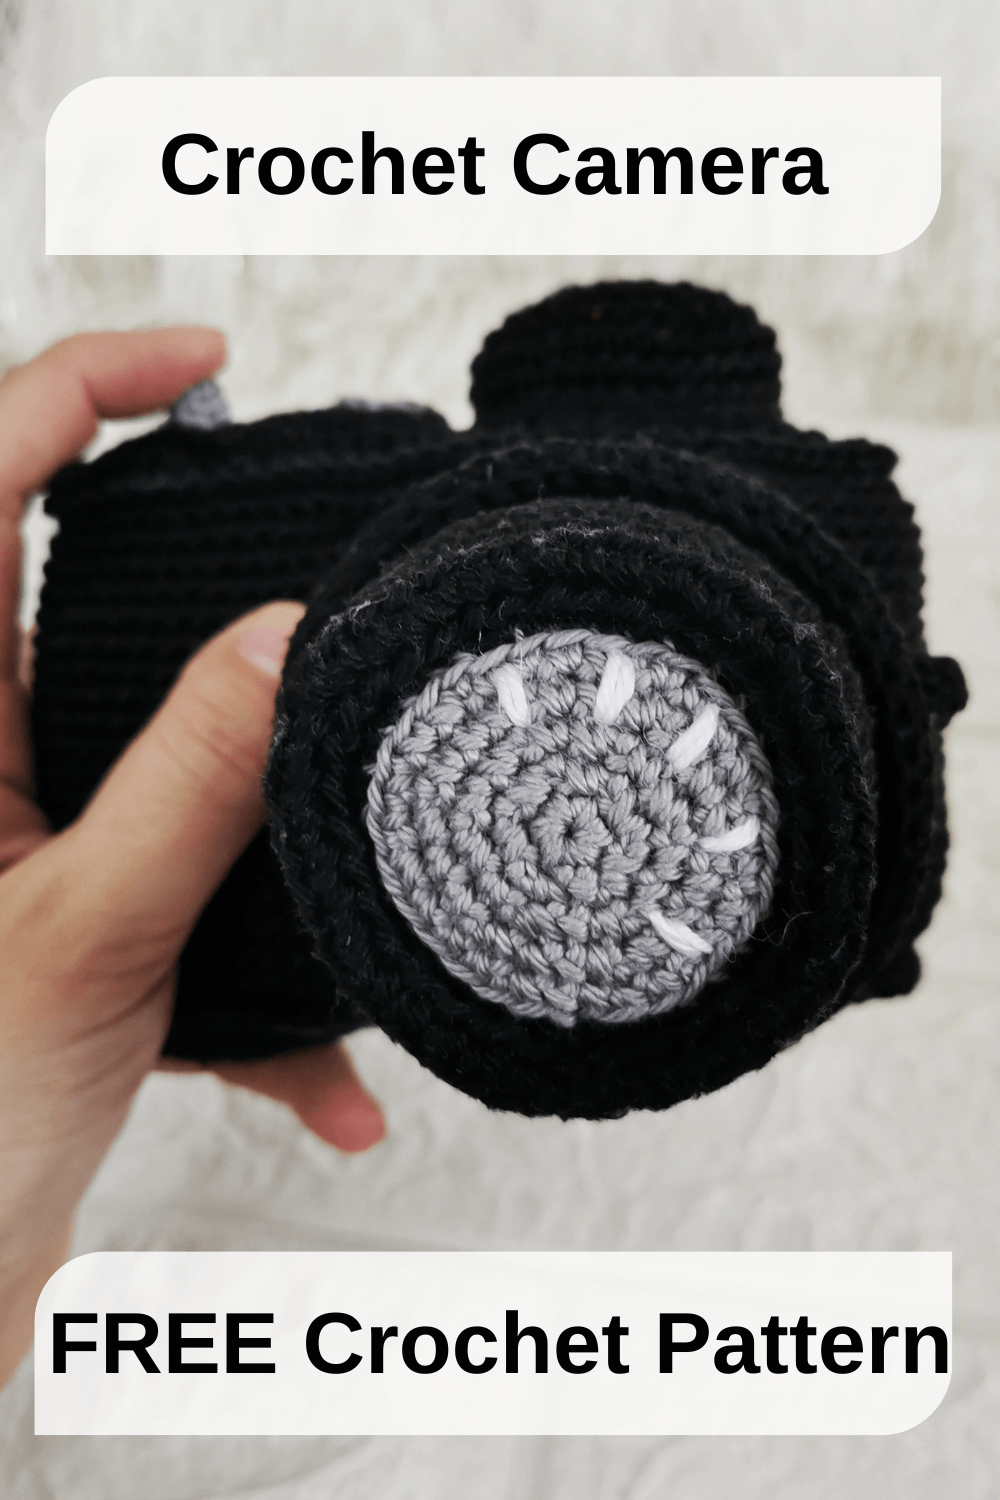
Welcome back to the studio! Today, I’m thrilled to share a project that perfectly blends retro charm with handmade cozy vibes—a free crochet camera pattern. Whether you are looking for a unique shelf decor piece or a personalized gift, this amigurumi camera is a creative way to capture memories without a lens.
Why This Free Crochet Camera Pattern is a Must-Make
You might be wondering: why is a crochet camera such a great gift? Unlike traditional toys, this amigurumi model carries a sense of nostalgia and artistic flair. It is the perfect photography prop for newborn photoshoots, a stylish desk accessory for a professional photographer, or a “soft” version of a favorite hobby for those who never put their DSLR down.
By following this free crochet camera pattern, you are creating more than just a toy; you are making a conversation piece that lasts forever. Plus, it’s a fantastic way to use up those black and grey yarn scraps in your stash!
🌸 Support My Work
This amigurumi pattern is completely free to use! I spend hours designing, testing, and photographing each creation to share it with you.
If you love this pattern and would like to support my small business, please consider leaving a small tip on my Ko-fi page. Your support helps me buy new yarn colors for my upcoming collections and keeps the patterns on this website free for everyone!
Materials & Tools
To create this amigurumi camera, you will need the following materials:
- Yarn: I use a 100% cotton yarn from my local store. The best match and my top recommendation for this pattern is Paintbox Yarns Cotton DK.
- Hook: I used a 2mm hook. I highly recommend Clover Amour Hooks for the best experience.
- Tools & Supplies:
- Fiberfill, scissors, and a tapestry needle.
- Optional: Stitch markers and a rattle insert for a baby sensory toy.
- Find all these essentials here: Crochet Supplies & Accessories.
Pattern Notes & Difficulty
- Difficulty Level: Beginner / Intermediate
- Finished Size: Approximately 5 x 4 x 4.7 inches (13 x 10 x 12 cm).
- Construction: The toy is worked using a combination of continuous rounds (circles) and rows, depending on the part.
- Tip: Make sure to keep your stitches tight enough so the stuffing doesn’t show through.
Crochet Abbreviations (US Terms)
This pattern uses standard US crochet terminology:
- MR – Magic Ring
- CH – Chain
- SC – Single Crochet
- INC – Increase (2 SC in one stitch)
- DEC – Decrease (SC 2 together)
- BLO – Back Loop Only
- FLO – Front Loop Only
- SL ST – Slip Stitch
- SK ST – Skip Stitch
New to Crochet? Check Out These Resources!
If you are just starting your amigurumi journey or need a quick refresher before making this camera, I’ve got you covered. Check out these helpful guides:
- Amigurumi for Beginners: Learn how to choose the perfect yarn and hook for your projects.
- How to Crochet Basic Stitches: A step-by-step tutorial for all the stitches used in this pattern.
- Crochet Abbreviations Guide: If you are confused by terms like MR, BLO, or INC, this guide explains them all.
Free Crochet Camera Pattern by EmmaS Dolls
Pattern Instructions
Note: Join each round with a slip stitch (sl st) and chain 1. The ch 1 does not count as a stitch unless stated otherwise.
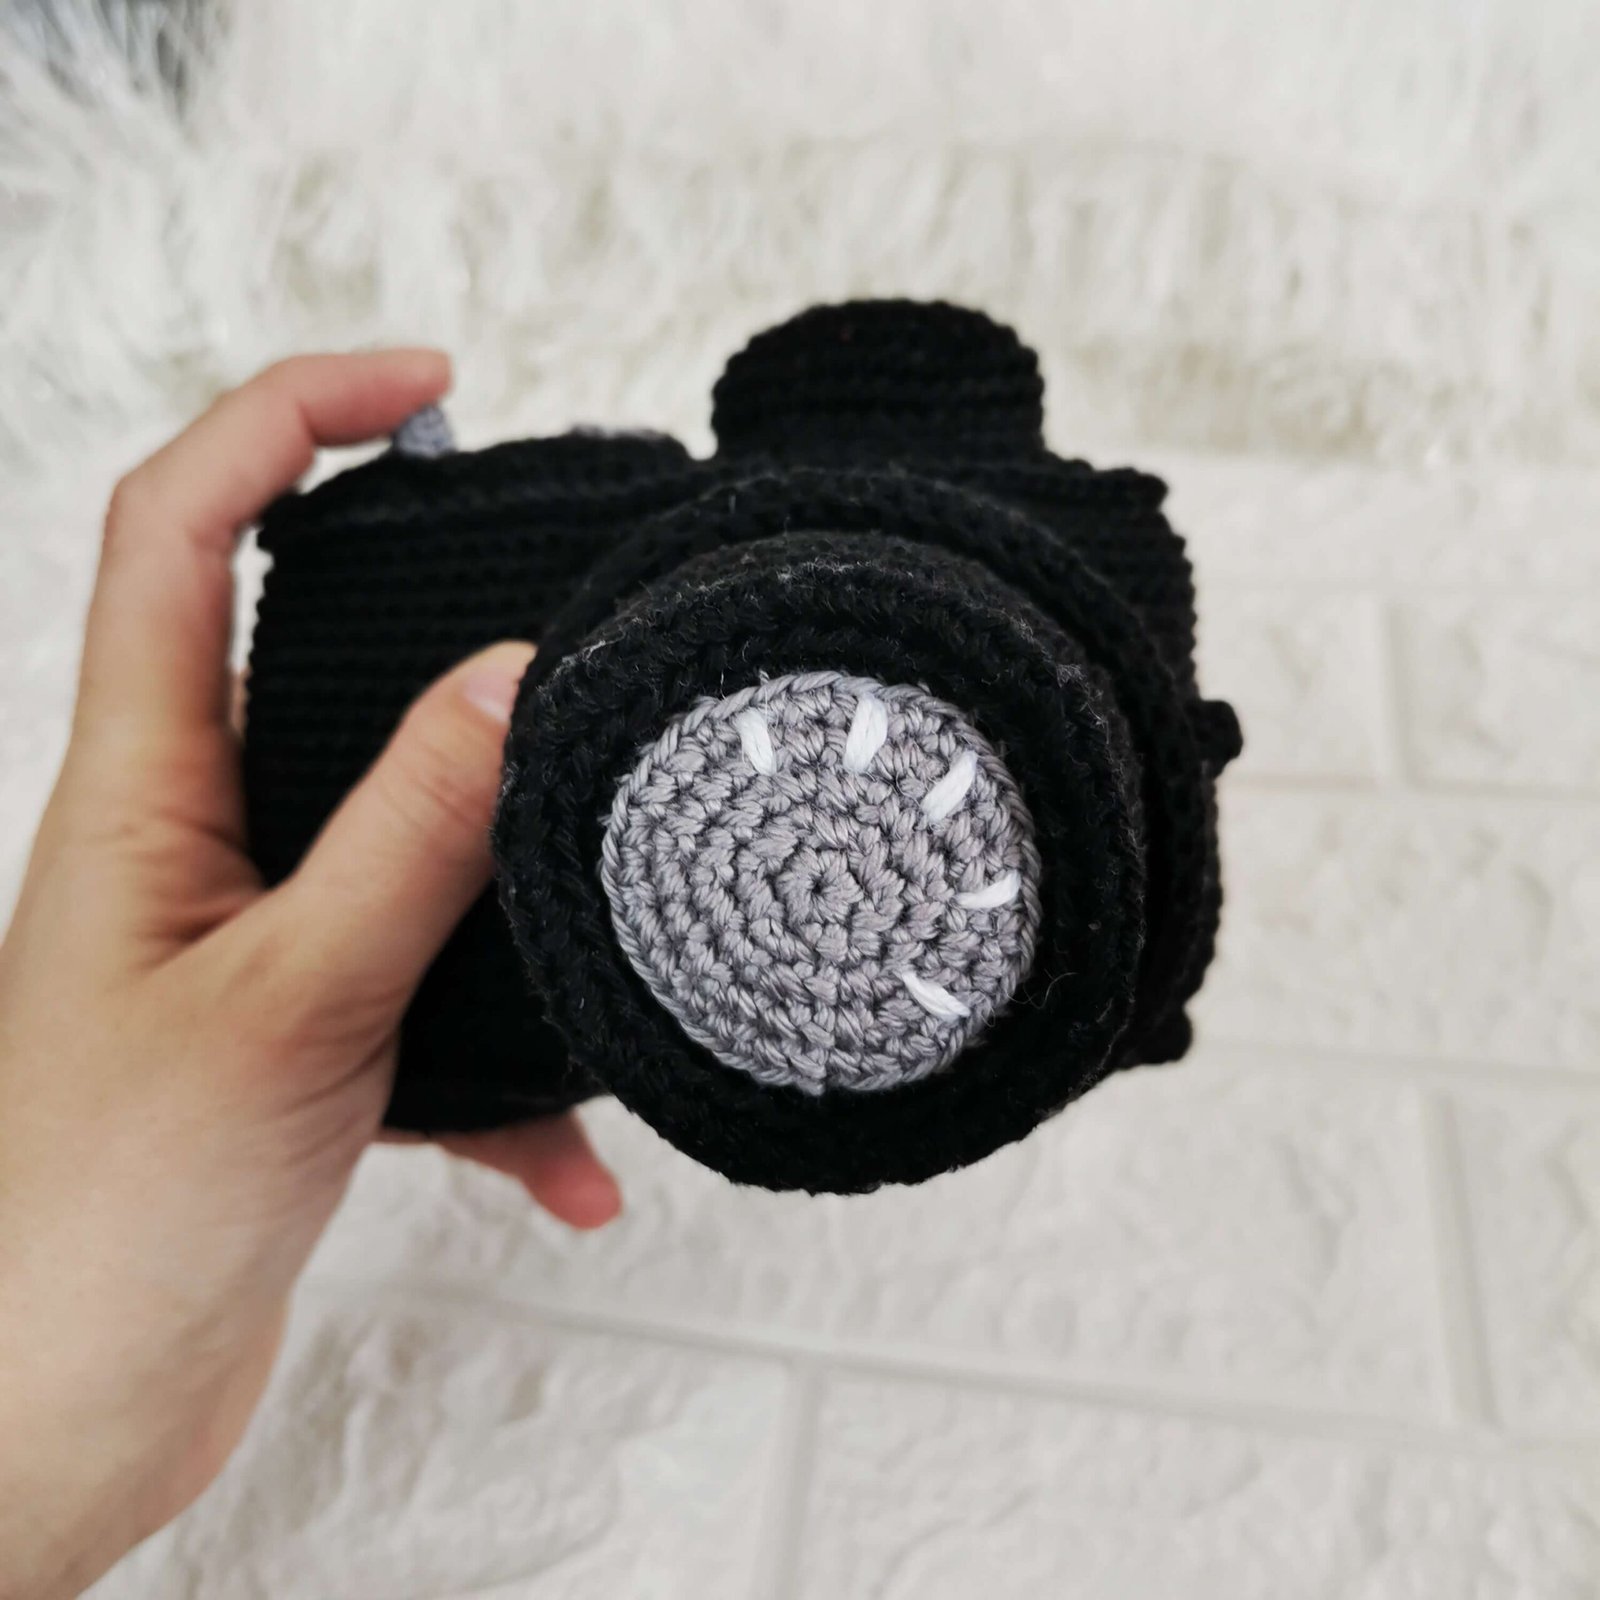
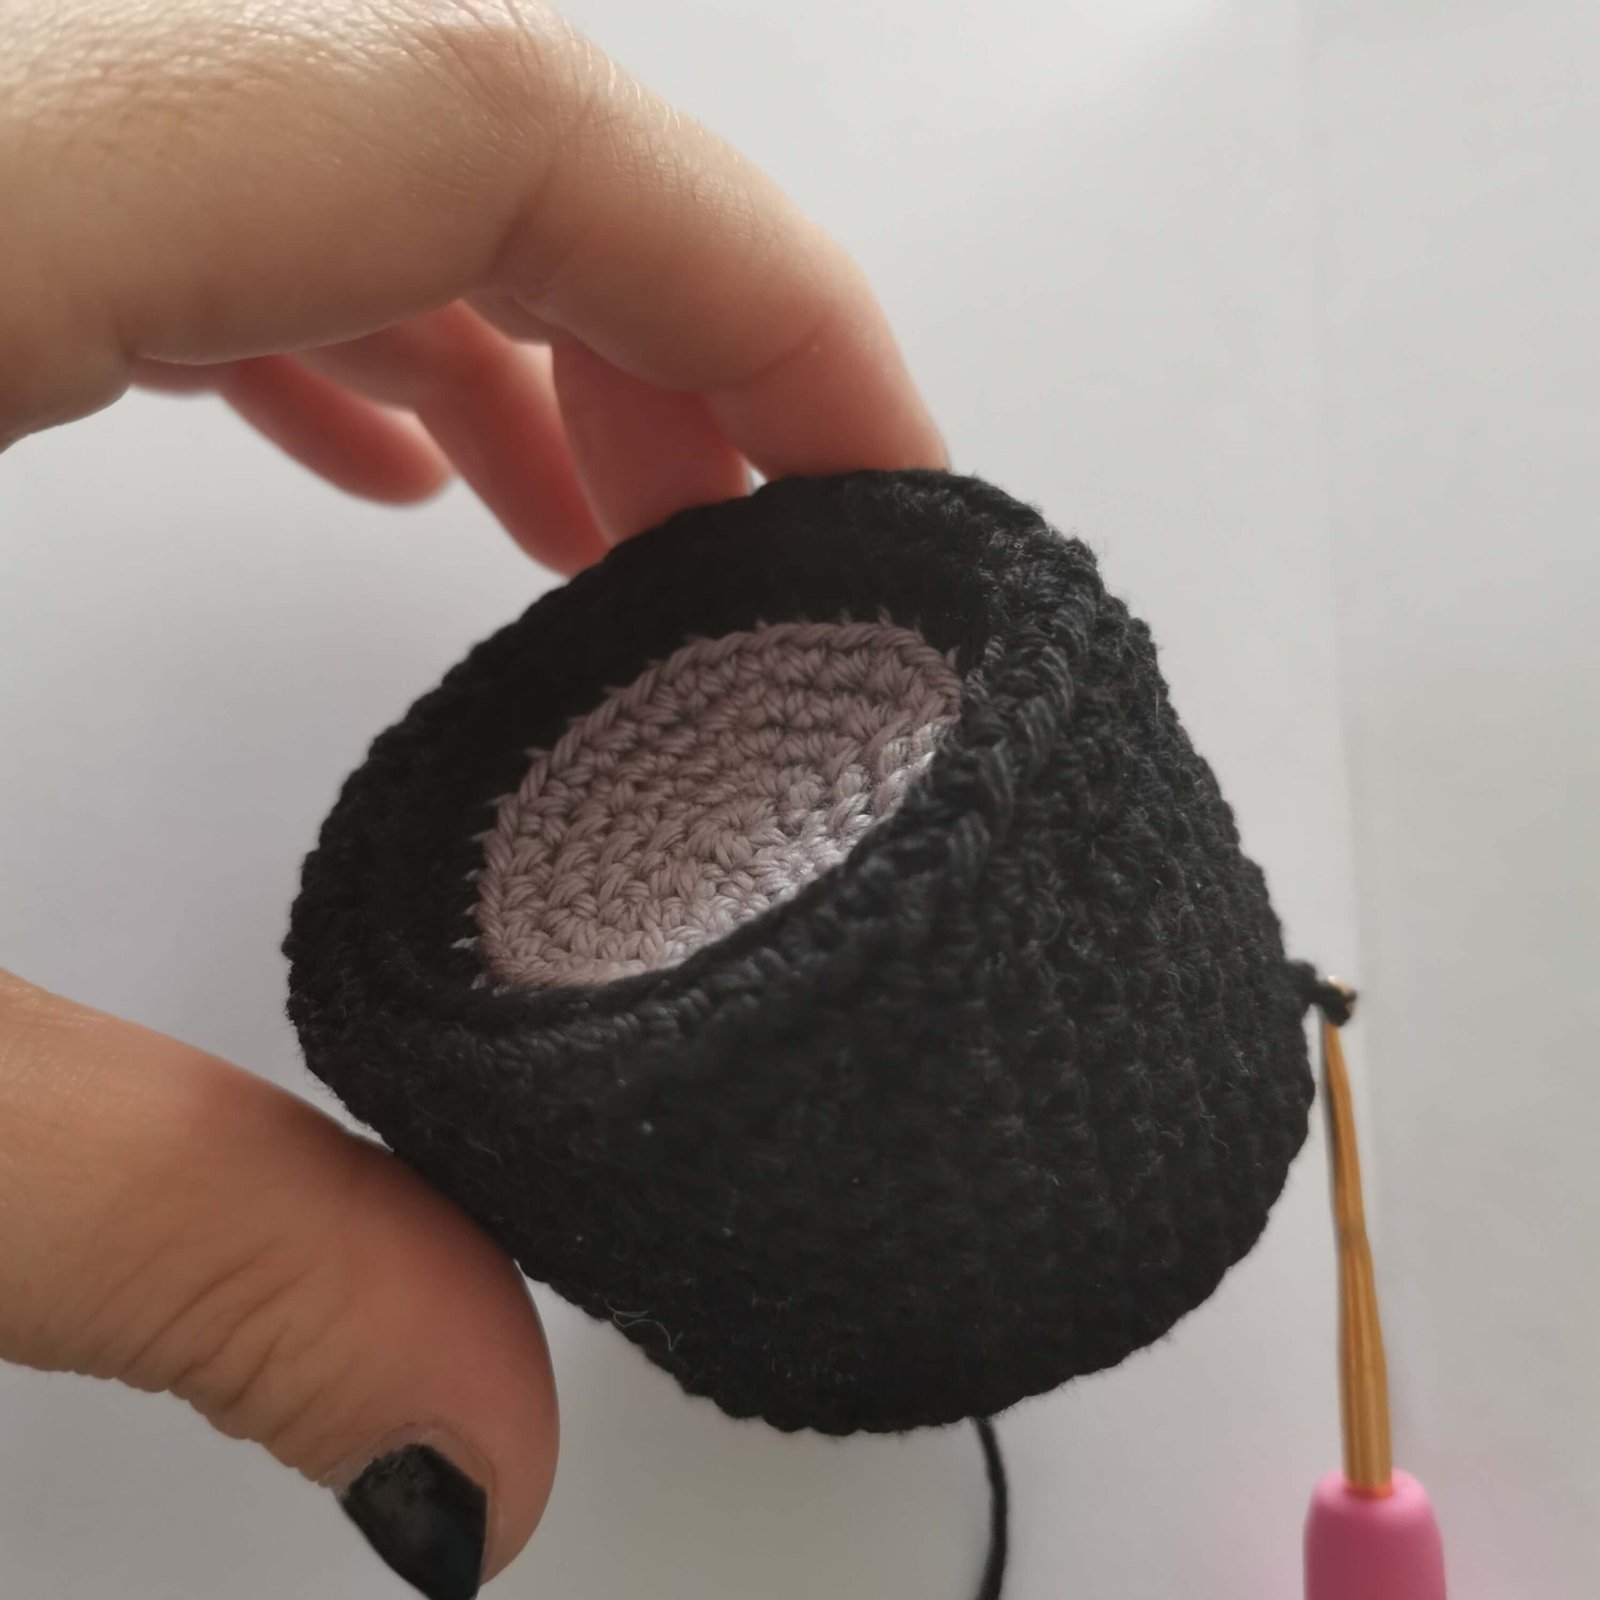
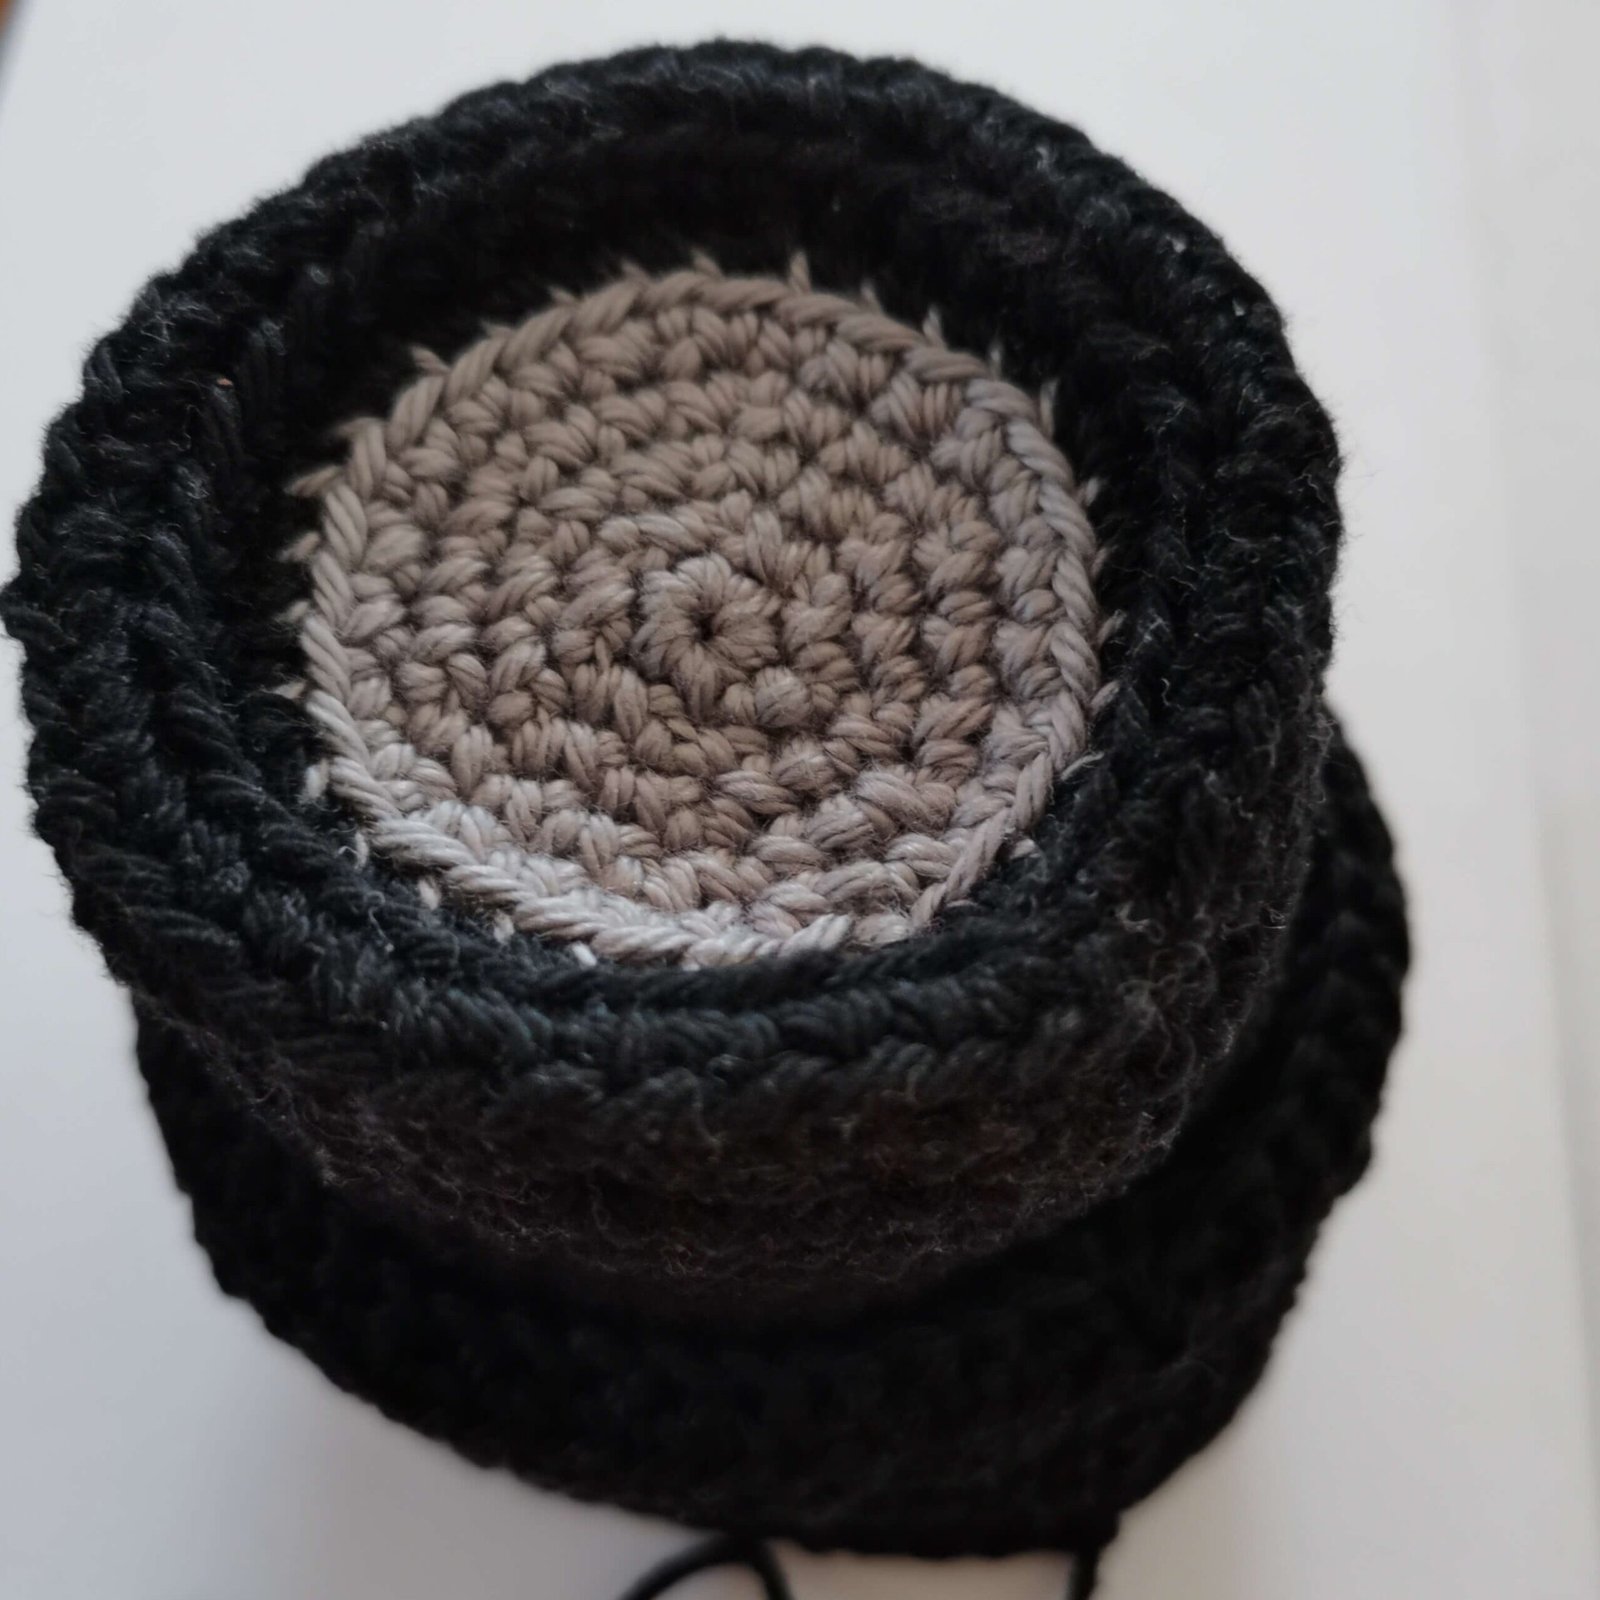
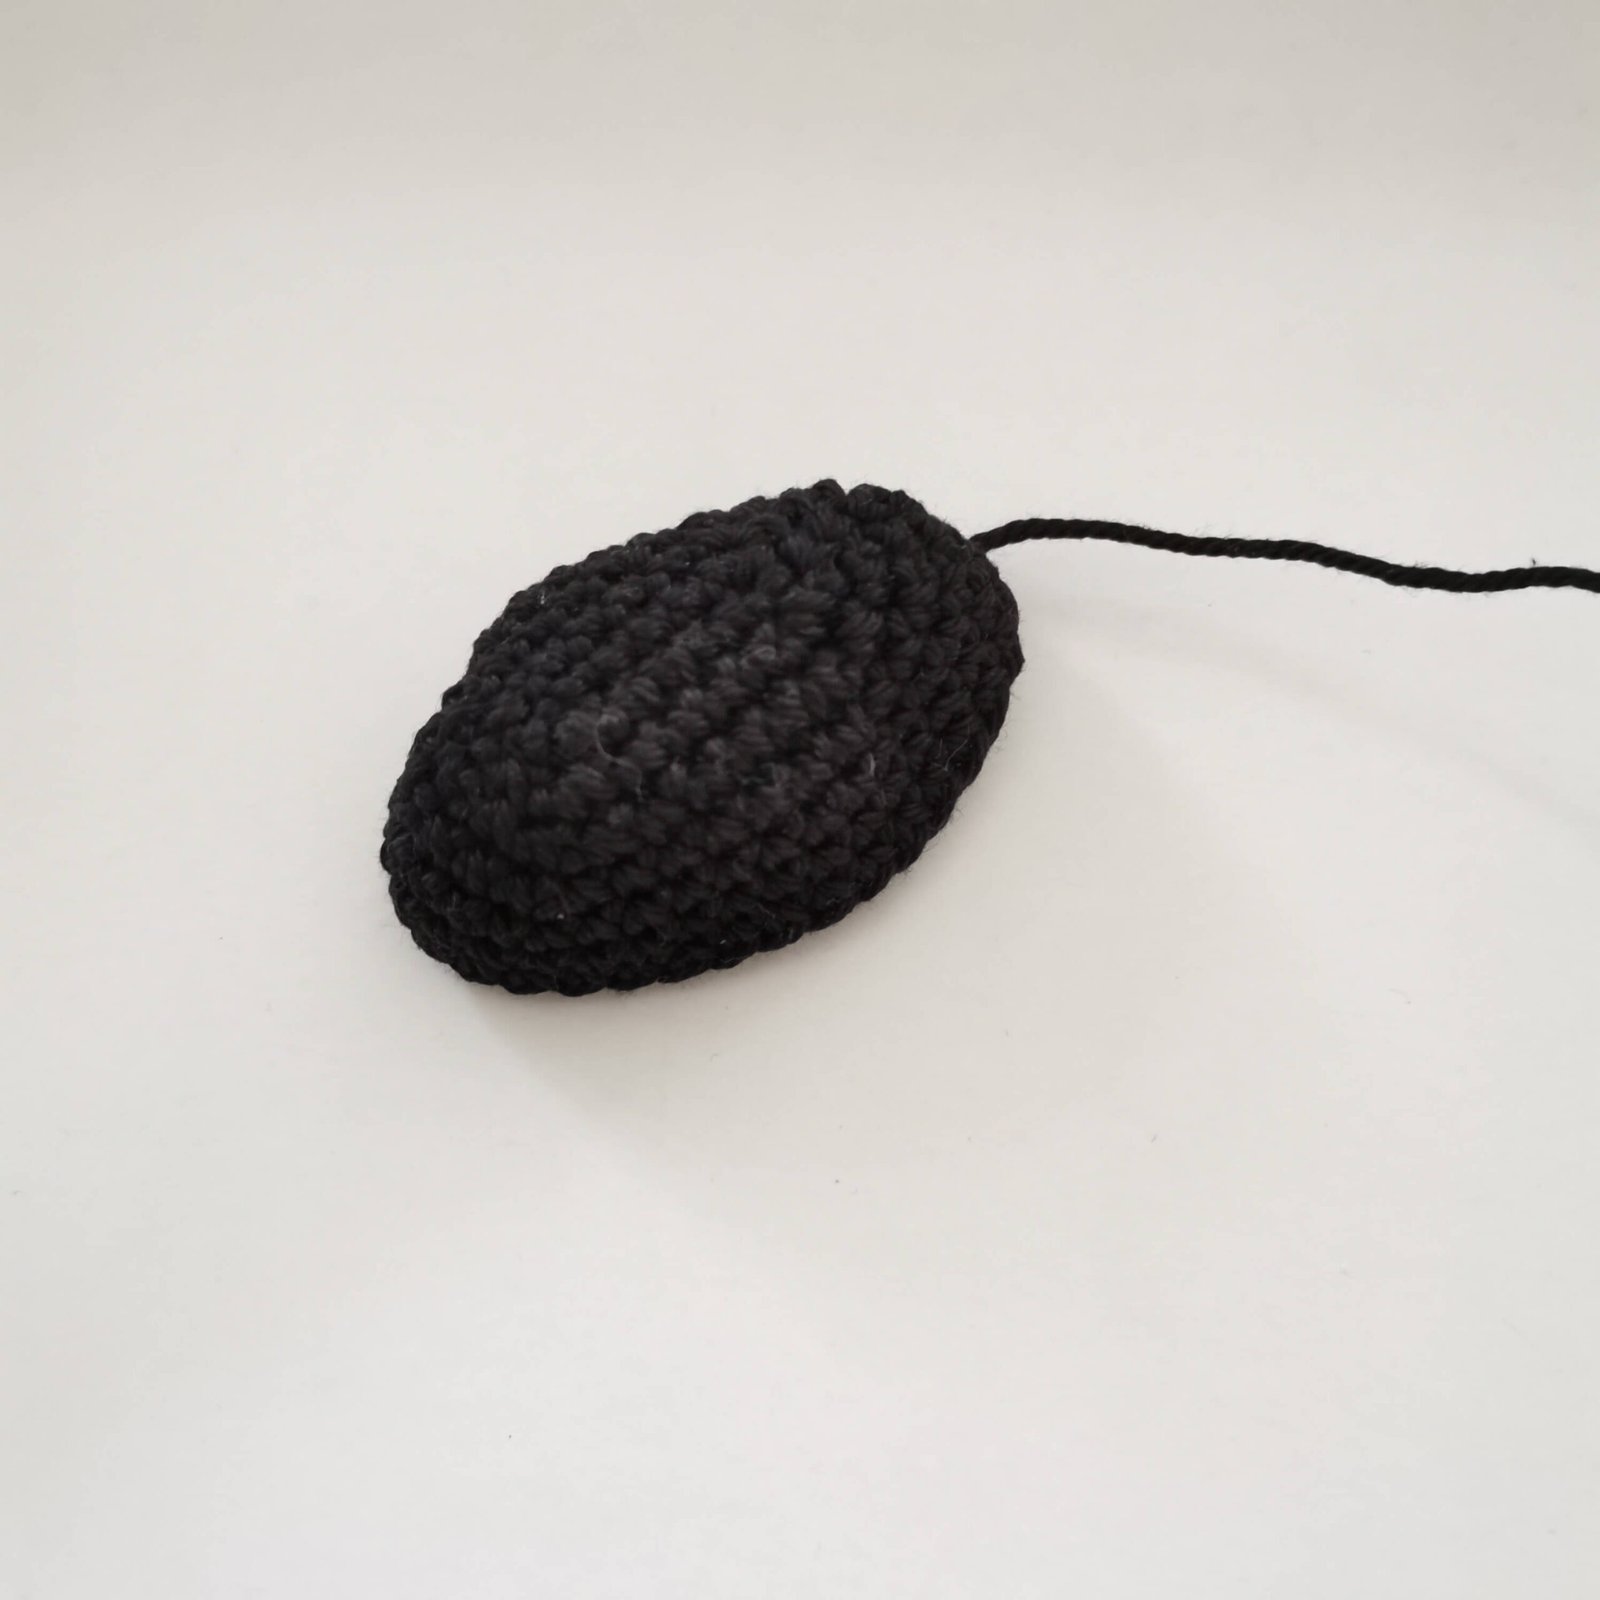
Lens
Starting with Grey yarn
Round 1: MR, 6 SC, sl st in first (6)
Round 2: Ch 1, 6 x inc, sl st (12)
Round 3: Ch 1, (SC, inc) x 6, sl st (18)
Round 4: Ch 1, (SC, inc, SC) x 6, sl st (24)
Round 5: Ch 1, (3 SC, inc) x 6, sl st (30)
Free Crochet Camera Pattern by EmmaS Dolls
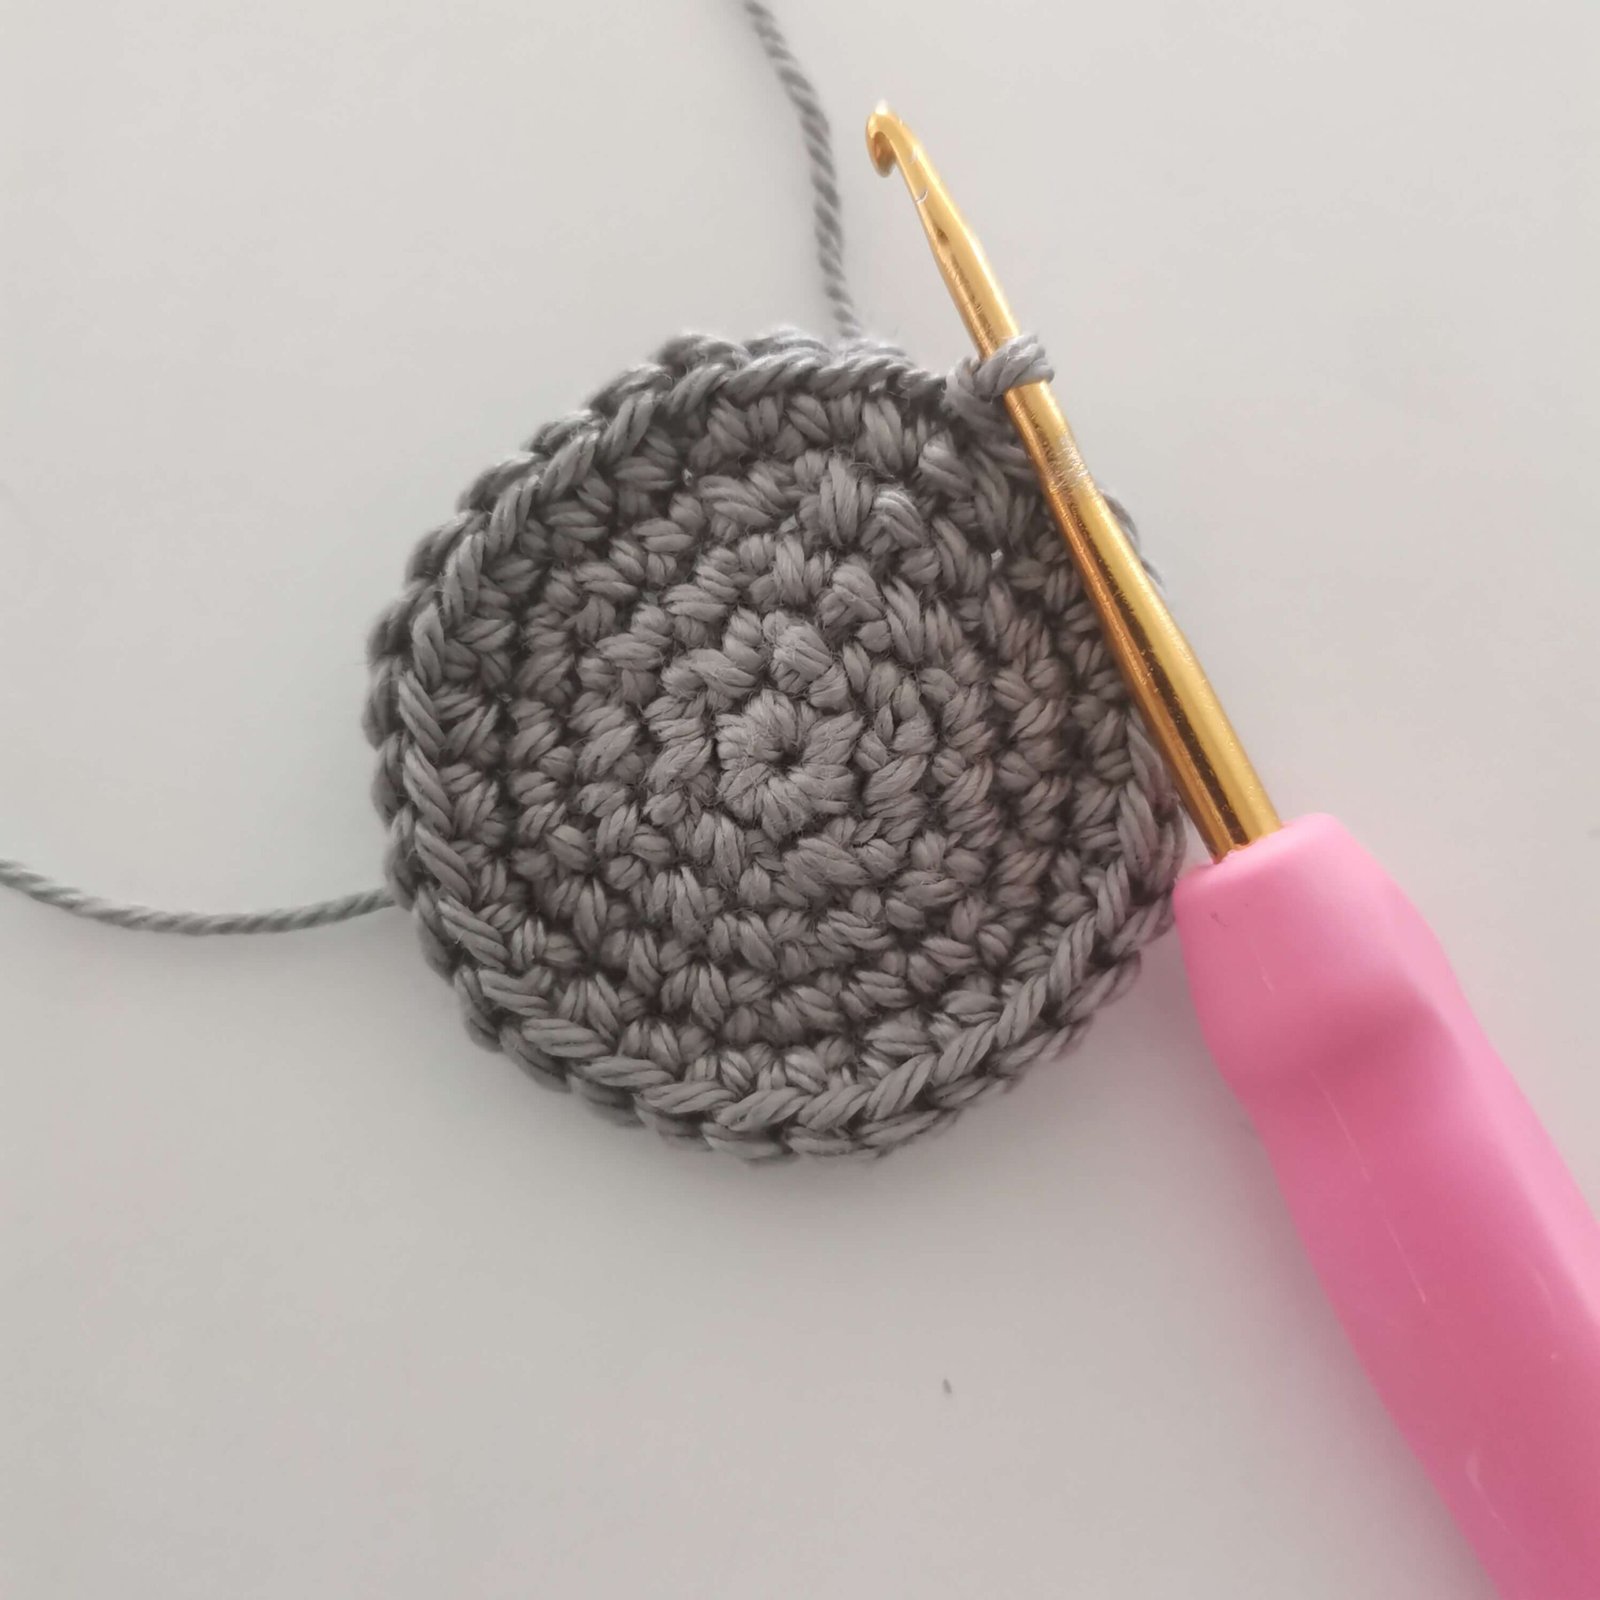
Switch to Black yarn
Round 6: BLO (2 SC, inc, 2 SC) x 6, sl st (36)
Round 7: Ch 1, FLO 36 SC, sl st (36)
Round 8: Ch 1, BLO (5 SC, inc) x 6, sl st (42)
Round 9: Ch 1, BLO 42 SC, sl st (42)
Round 10-18: Ch 1, 42 SC, sl st (42) — (9 rounds)
Free Crochet Camera Pattern by EmmaS Dolls
Round 19: Ch 1, FLO (6 SC, inc) x 6, sl st, turn (48)
Round 20: Ch 1, BLO 48 SC, sl st (48)
Round 21: Ch 1, 48 SC, sl st, turn (48)
Round 22: Ch 1, BLO (7 SC, inc) x 6, sl st (54)
Round 23: Ch 1, BLO 54 SC, sl st (54)
Round 24: Ch 1, 54 SC, sl st (54)
Round 25: Ch 1, 54 SC, sl st (54)
• In round 25, work through both the stitches of round 24 and the FLO of round 20 at the same time to create a folded edge effect.

Round 26-30: Ch 1, 54 SC, sl st (54) — (5 rounds)
Fasten off, leaving a long tail for sewing.
Free Crochet Camera Pattern by EmmaS Dolls
Bottom/Top (Make 2)
Black yarn Ch 31.
Row 1-9: 30 SC, ch 1, turn (30) — (9 rows)
Row 10: 10 SC, ch 1, turn (10)
Row 11: Dec, 6 SC, dec, ch 1, turn (8)
Row 12: Dec, 4 SC, dec, ch 1, turn (6)
Row 13: Dec, 2 SC, dec (4)
Fasten off.
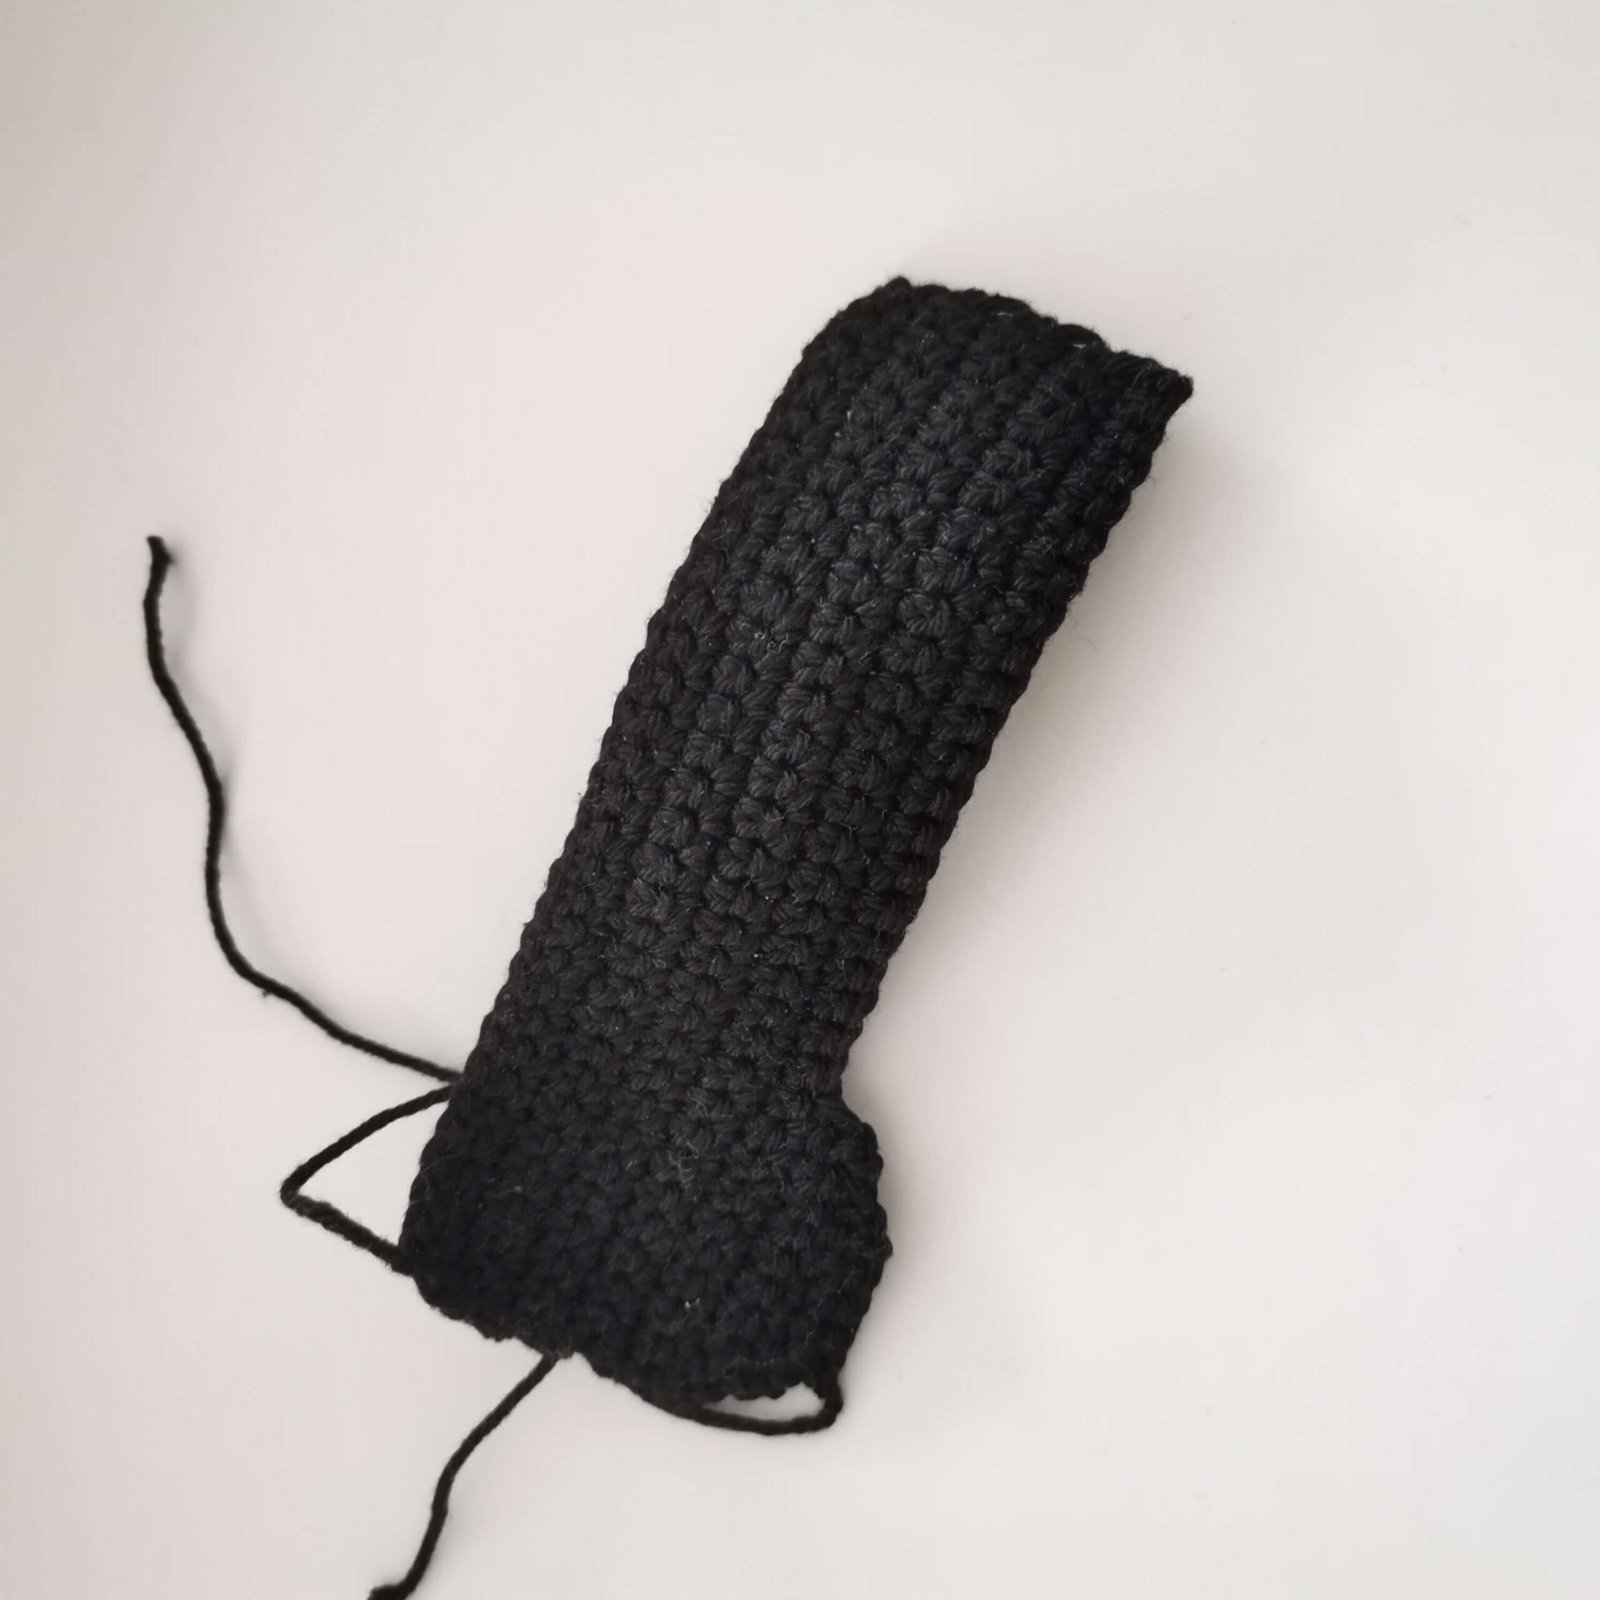
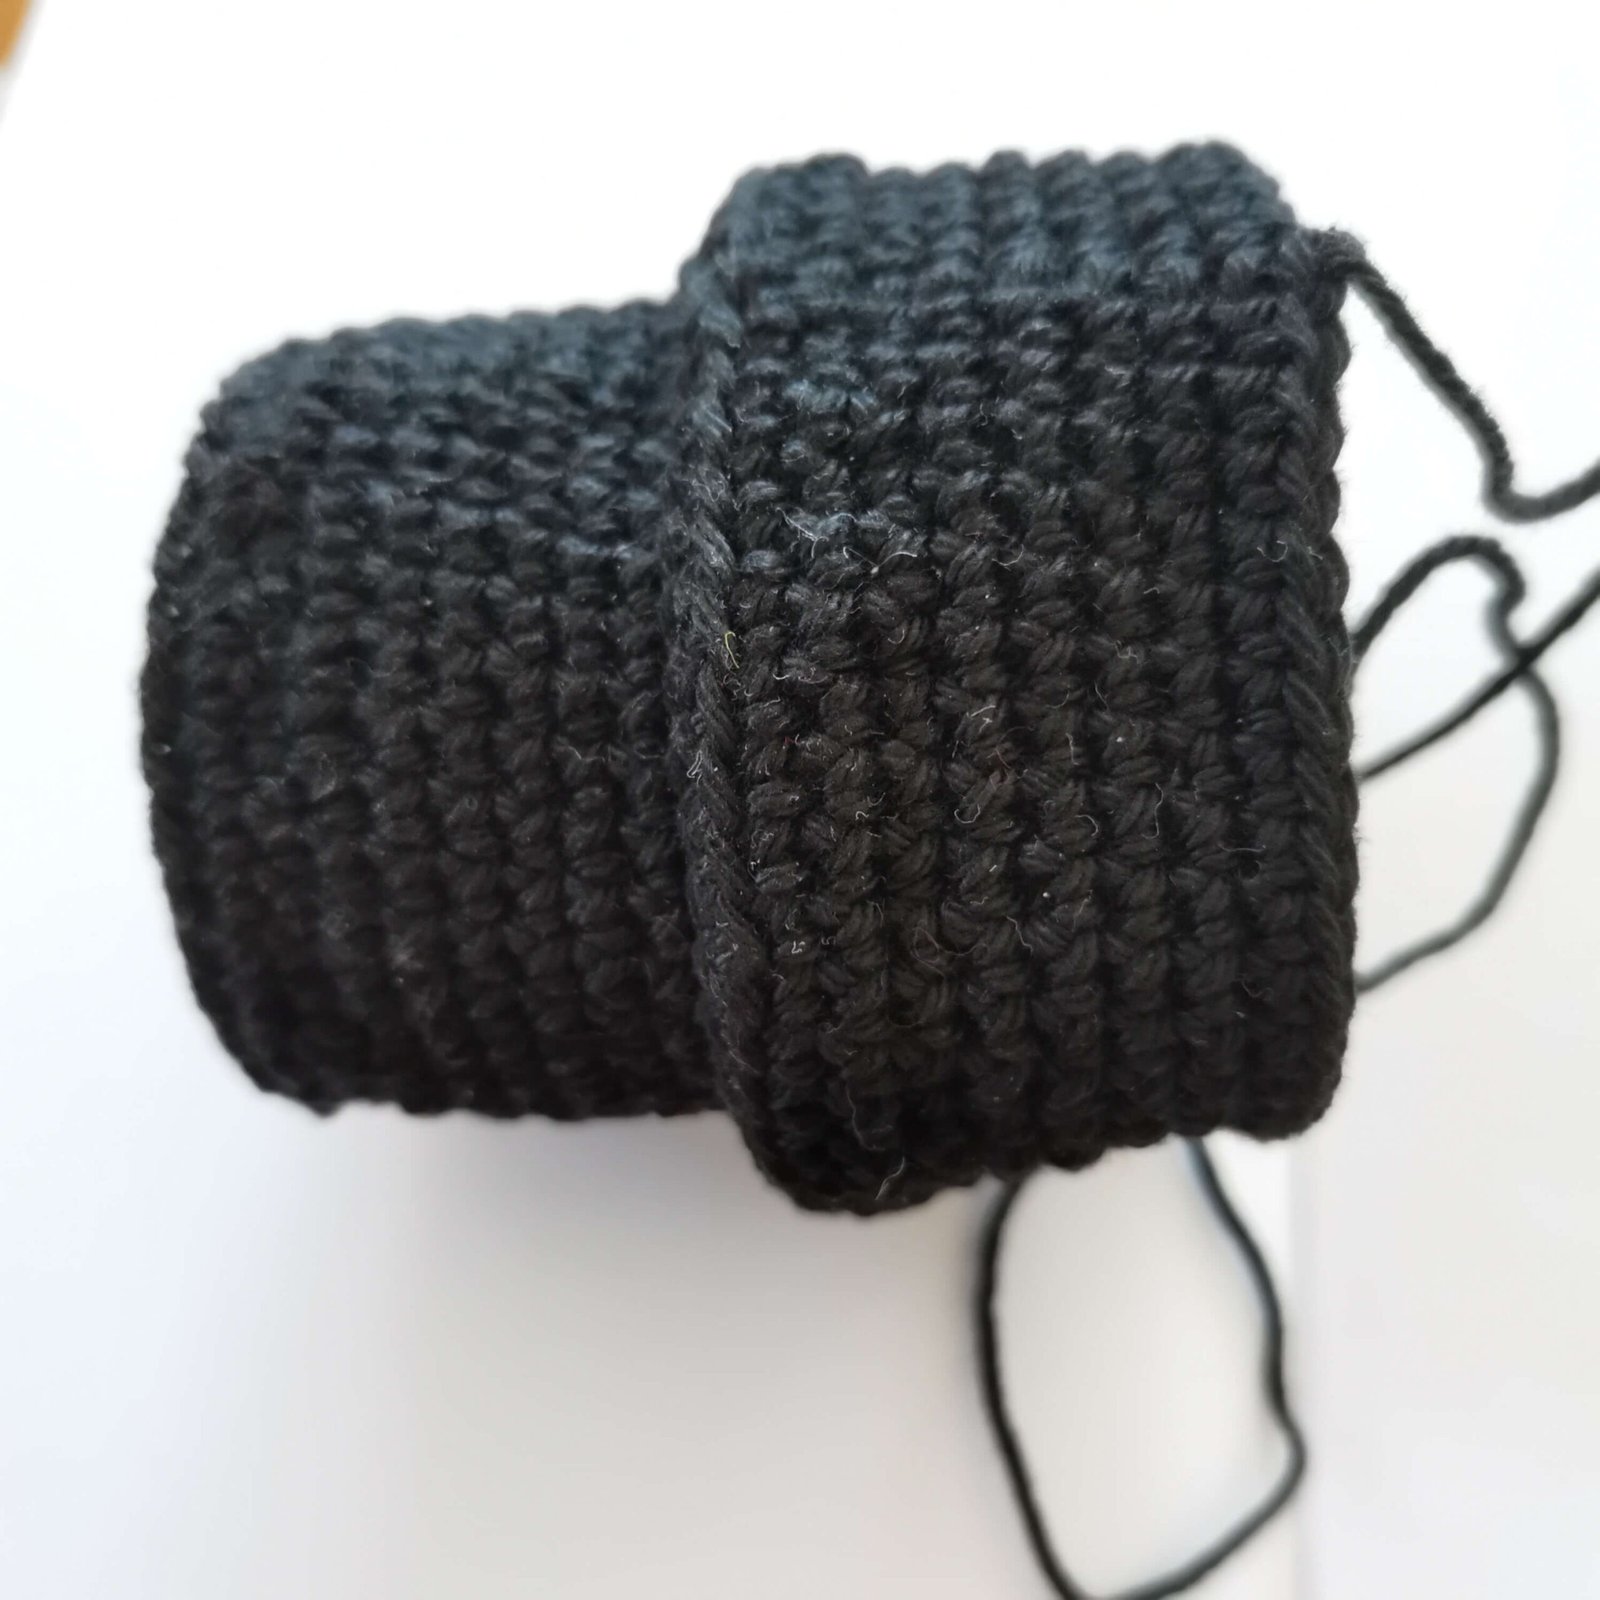
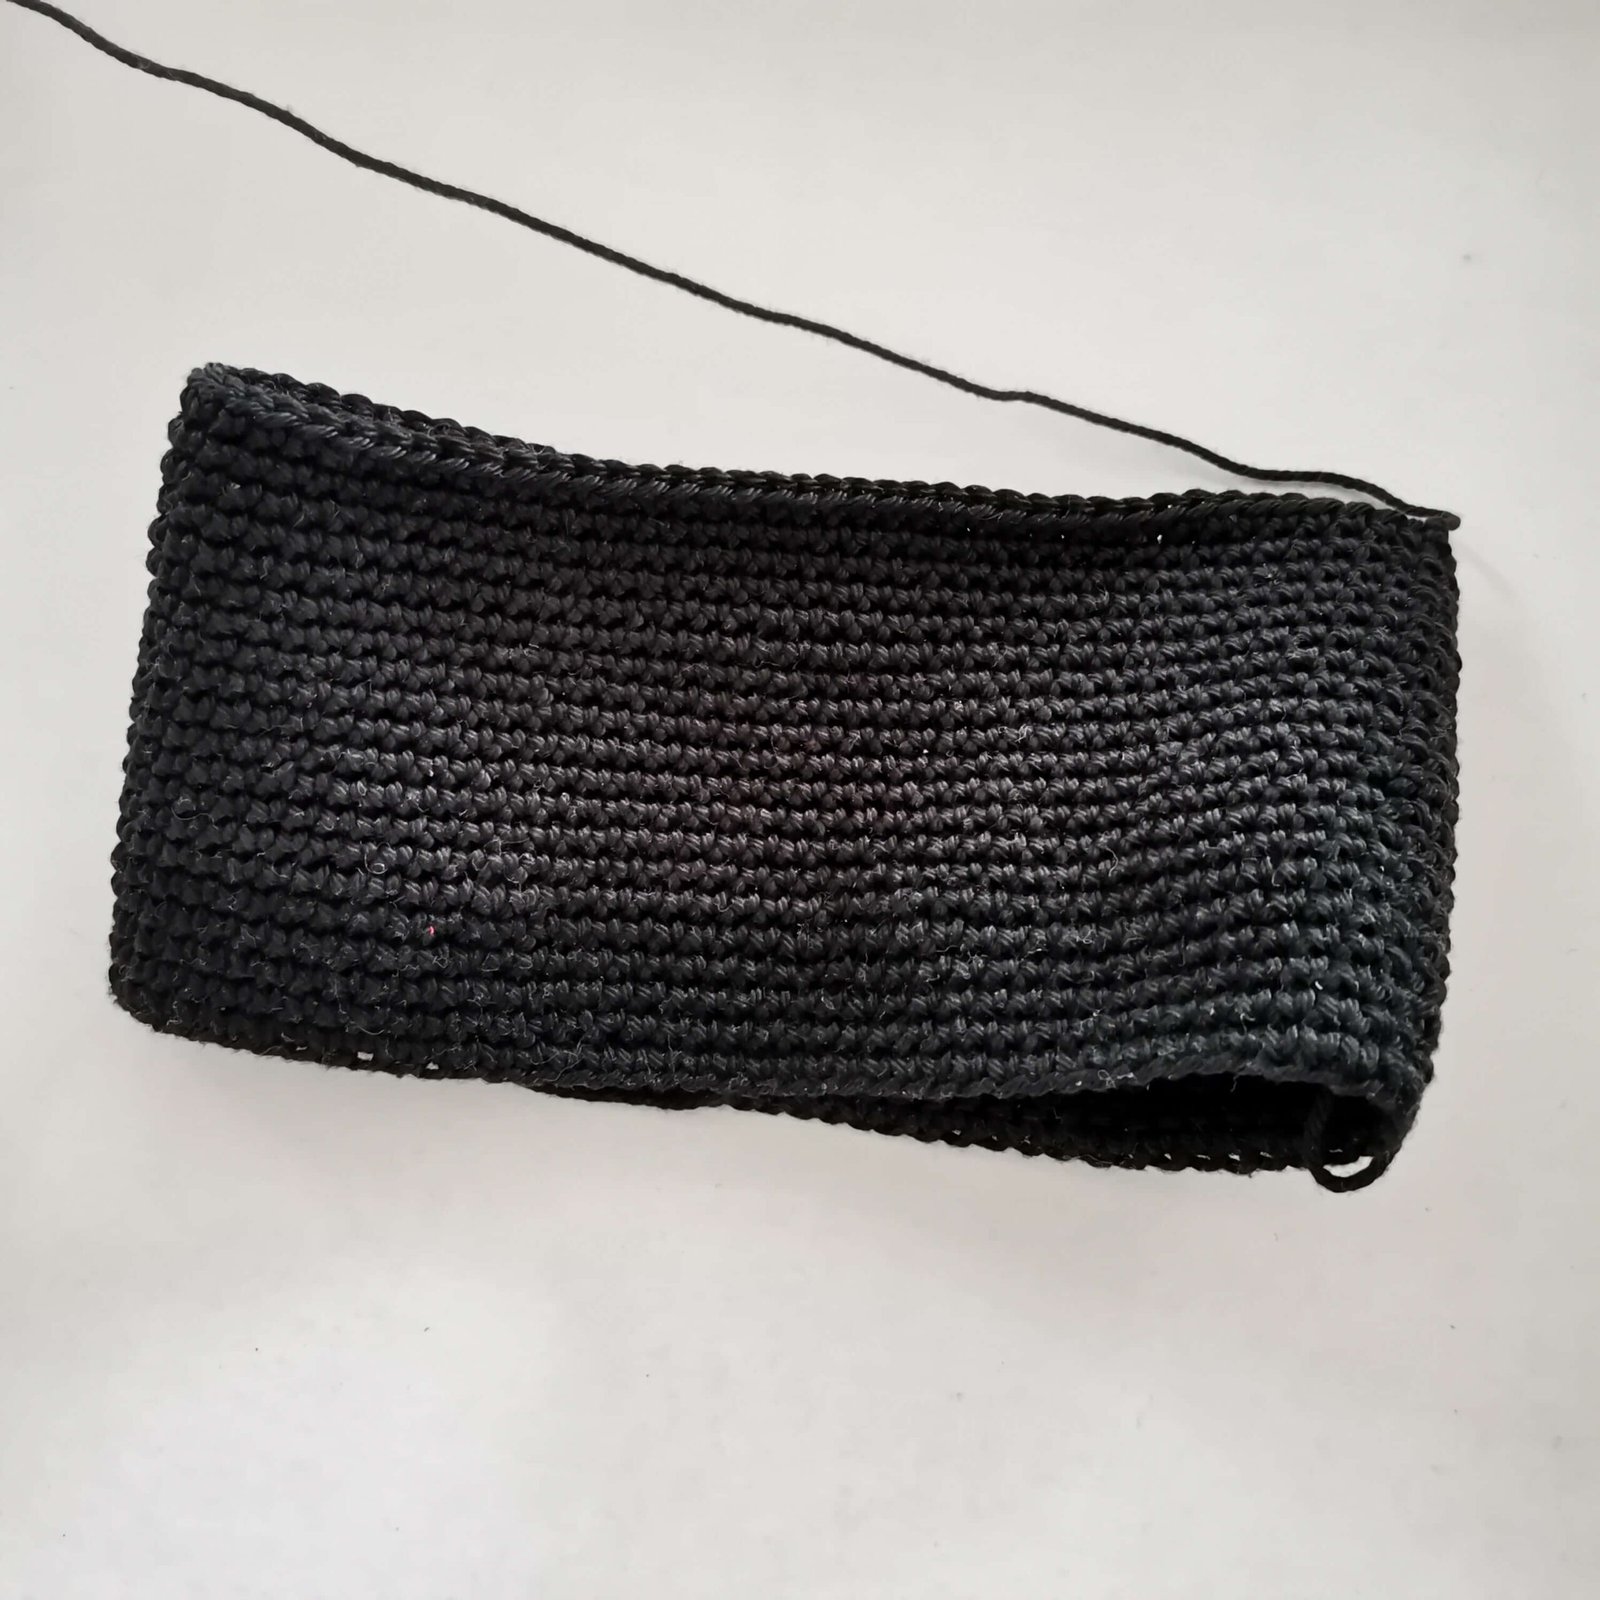
Main Part of the Camera
Black yarn Ch 82.
Round 1-20: Ch 1, 82 SC, sl st (82) — (20 rounds)
Fasten off.
Free Crochet Camera Pattern by EmmaS Dolls
Flash
Ch 7.
Round 1: 5 SC, 3 SC in 1, 4 SC, inc, sl st in first to connect (14)
Round 2: Ch 1, inc, 4 SC, 3 x inc, 4 SC, 2 x inc, sl st (20)
Round 3: Ch 1, SC, inc, 4 SC, (SC, inc) x 3, 4 SC, (SC, inc) x 2, sl st (26)
Round 4: Ch 1, 2 SC, inc, 4 SC, (2 SC, inc) x 3, 4 SC, (2 SC, inc) x 2, sl st (32)
Round 5-7: Ch 1, 34 SC, sl st (34) — (3 rounds)
Fasten off.
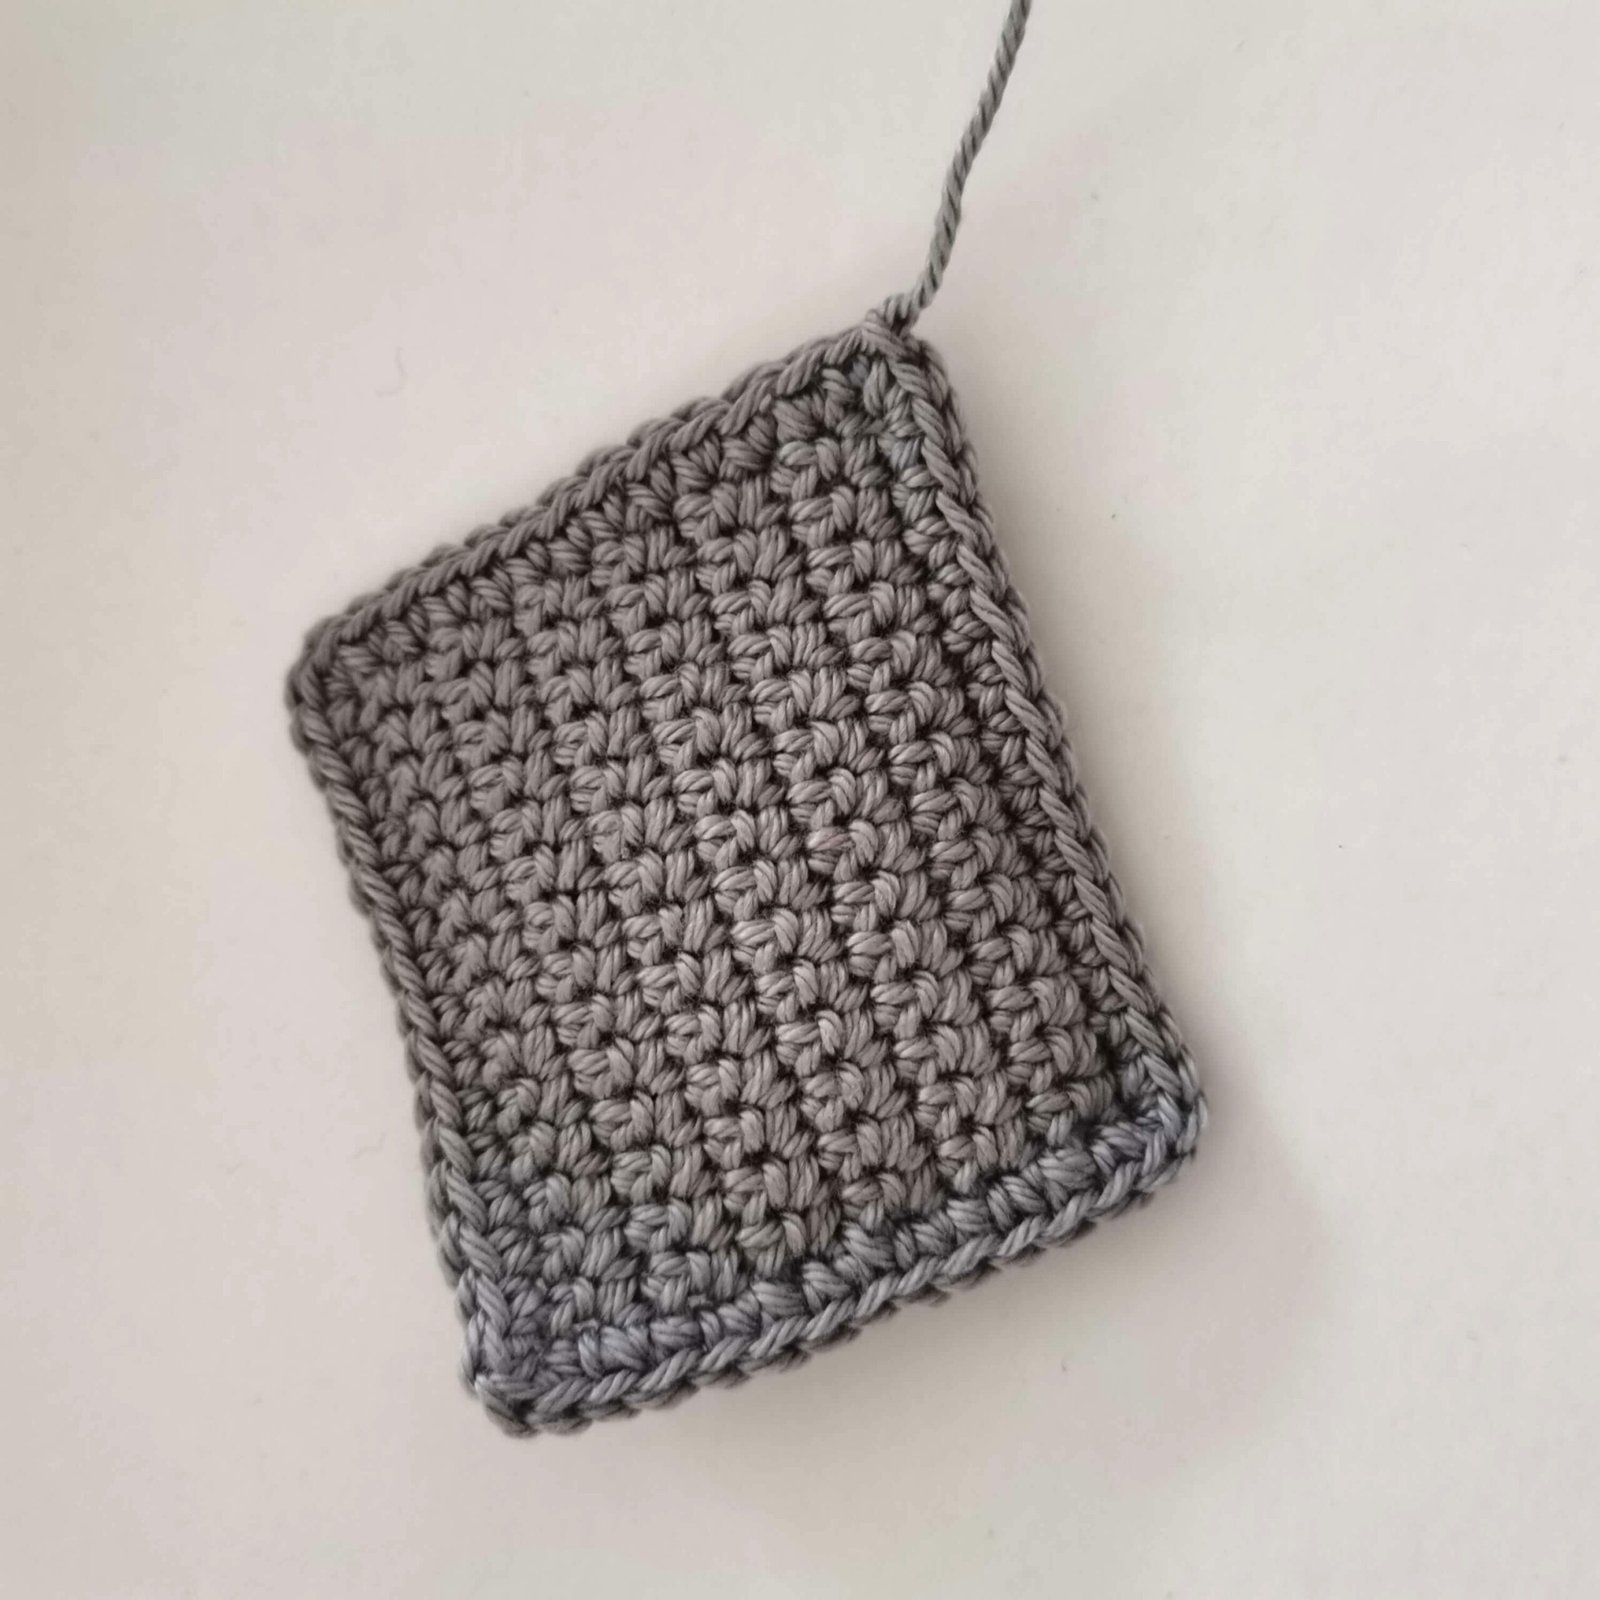
Display
Grey yarn Ch 16.
Row 1-11: 15 SC, ch 1, turn (15) — (11 rows)
Row 12: 15 SC (15) Ch 1, sl st all around, working 3 SC in each corner stitch.
• 3 SC in corner, 10 SC, 3 SC in corner, 13 SC, 3 SC in corner, 10 SC, 3 SC in corner, 13 SC, sl st in first.
Fasten off, leaving a long tail for sewing.
Buttons & Details
Viewfinder (Grey yarn):
Row 1: 5 SC, ch 1, turn (5)
Row 2: 5 SC (5) Ch 1,
sl st all around, 3 SC in each corner.
Fasten off, leaving a long tail for sewing.

Shutter Button (Grey yarn):
Round 1: MR, 6 SC, sl st in first (6)
Round 2: Ch 1, 6 SC, sl st (6)
Fasten off, leaving a long tail for sewing.
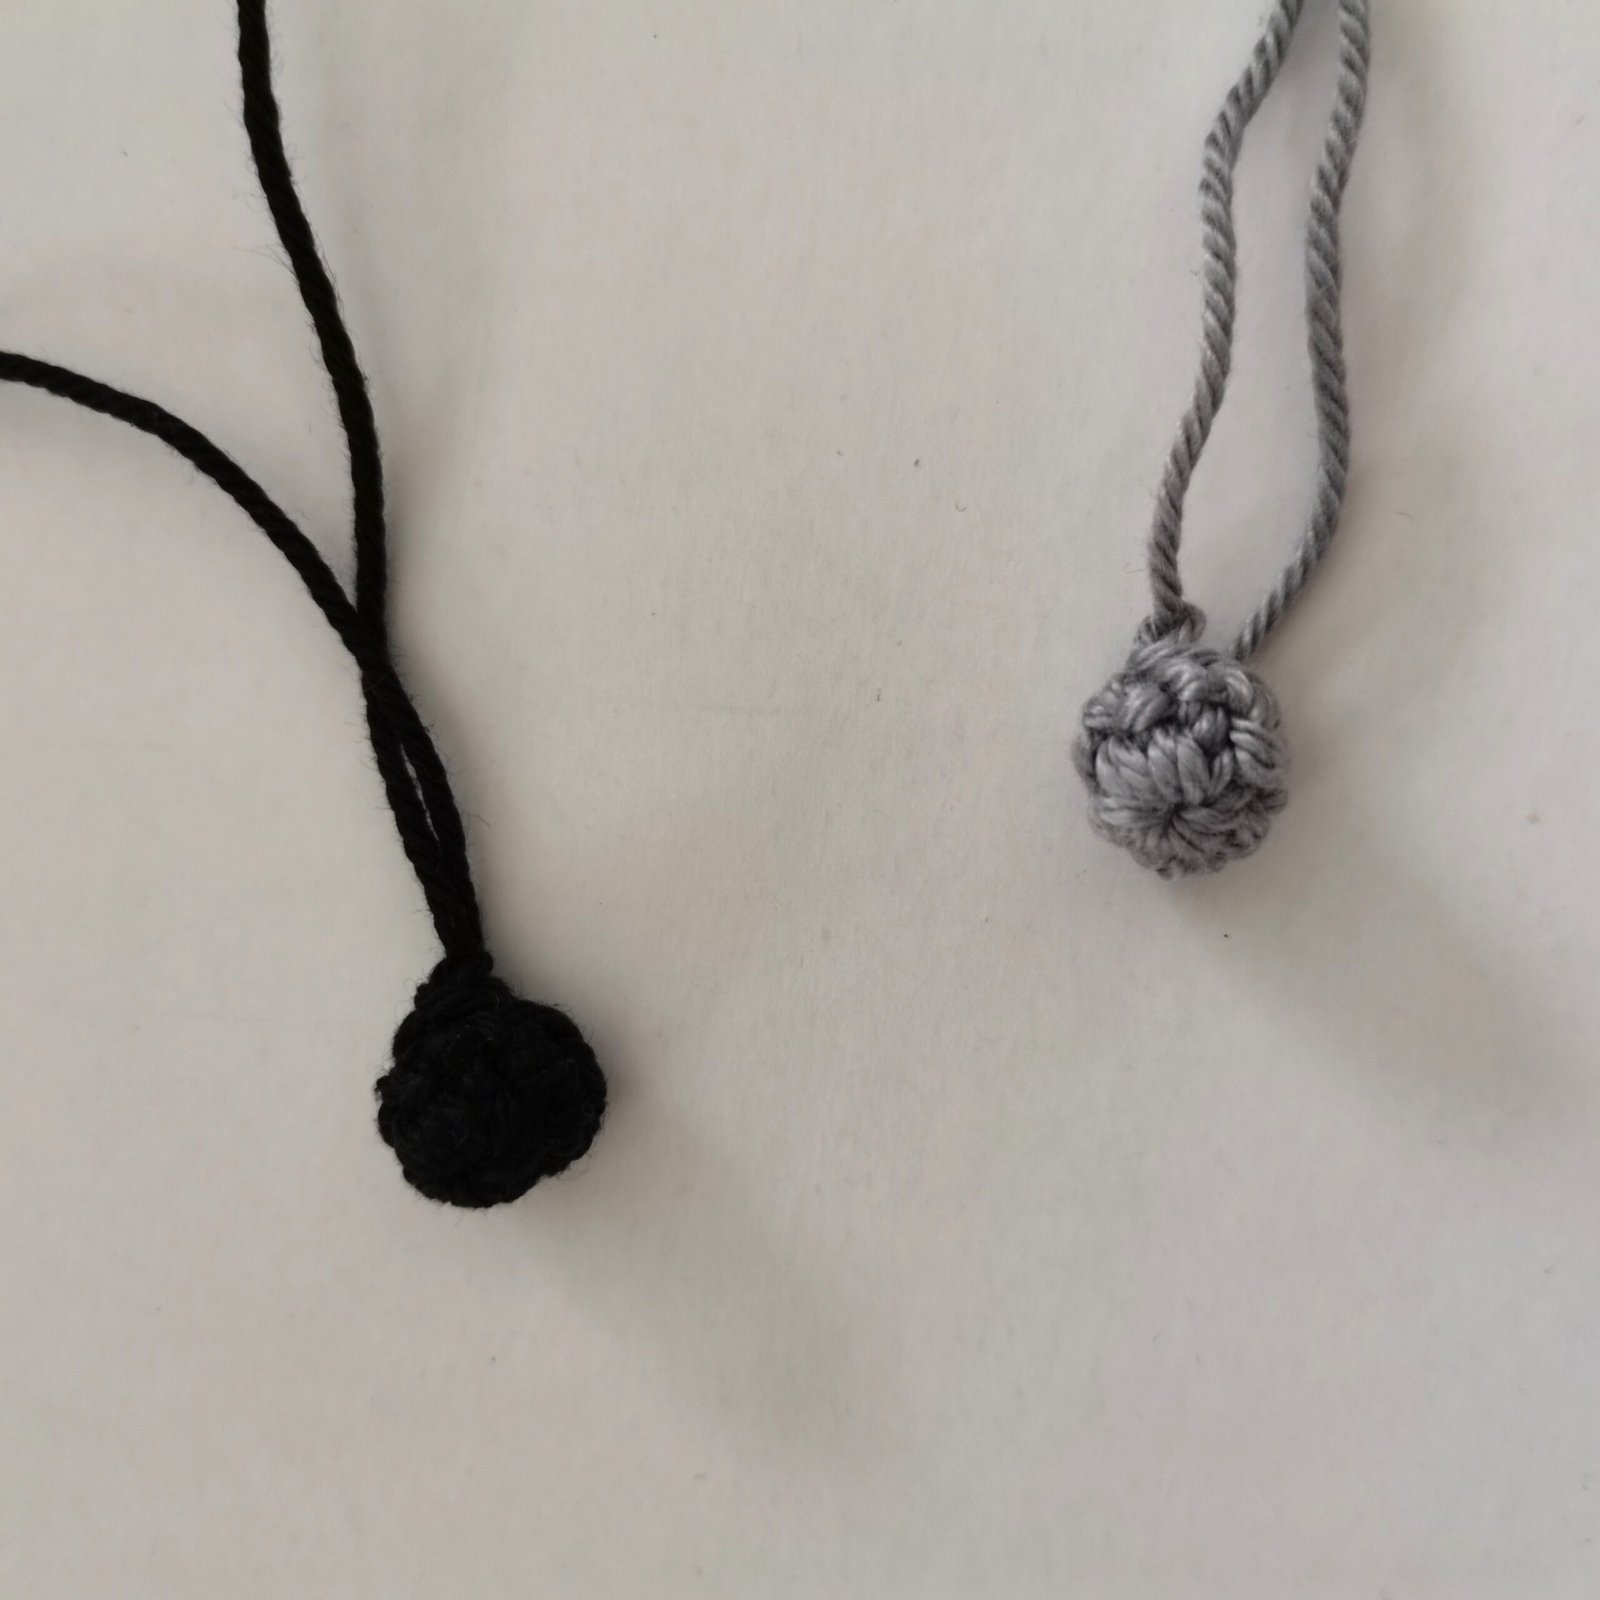
Lens Release Button (Black yarn):
Round 1: MR, 6 SC, sl st in first (6)
Round 2: Ch 1, 6 SC, sl st (6)
Fasten off, leaving a long tail for sewing.
Mode Dial (Grey yarn):
Round 1: MR, 6 SC, sl st in first (6)
Round 2: Ch 1, 6 x inc, sl st (12)
Fasten off, leaving a long tail for sewing.
Cross Keys (Grey yarn):
Round 1: MR, 6 SC, sl st in first (6)
Round 2: Ch 1, 6 x inc, sl st (12)
Fasten off, leaving a long tail for sewing.
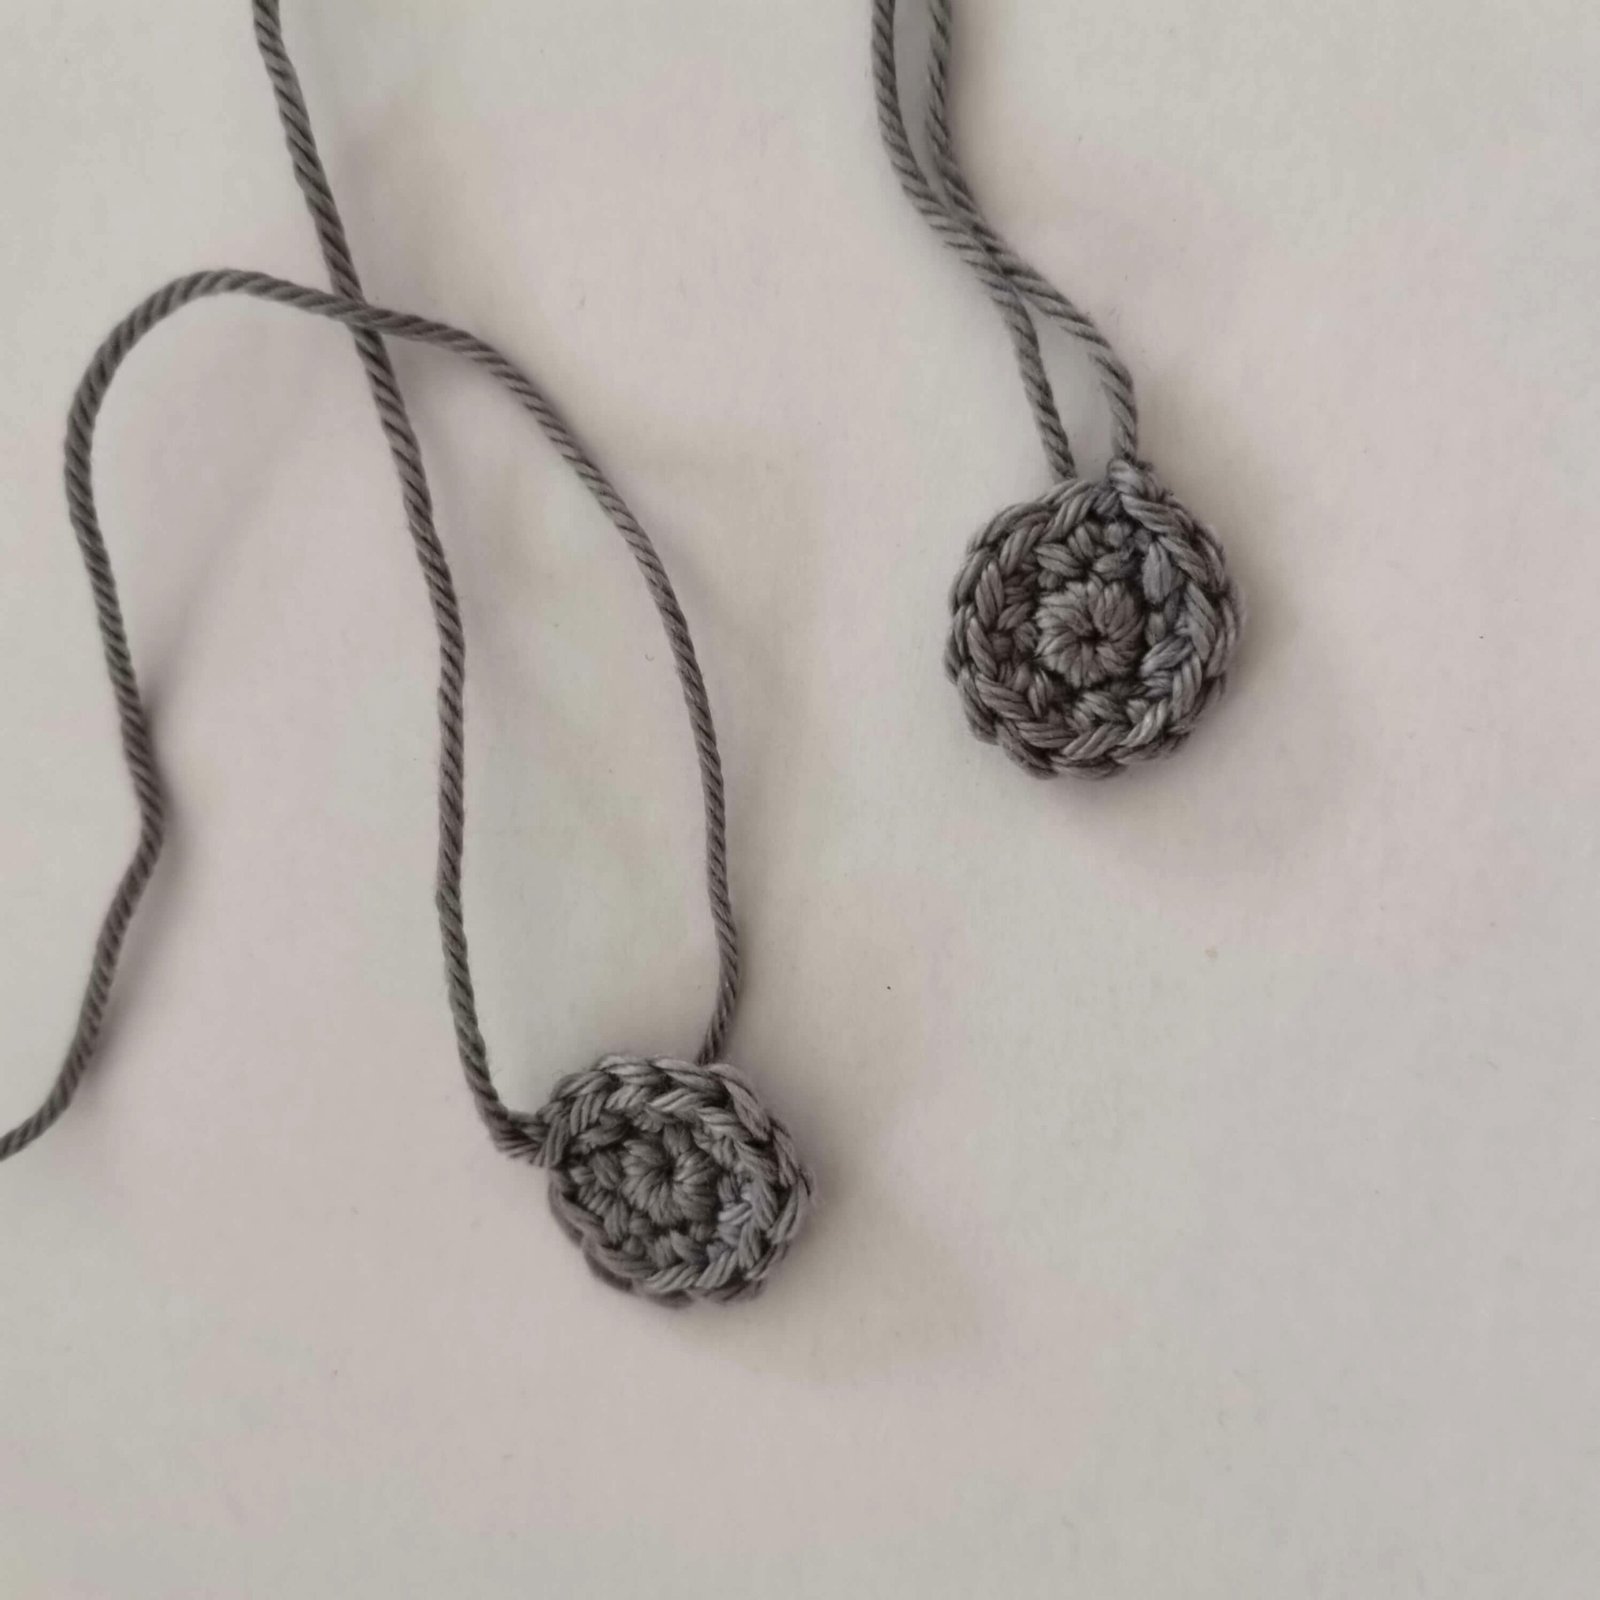
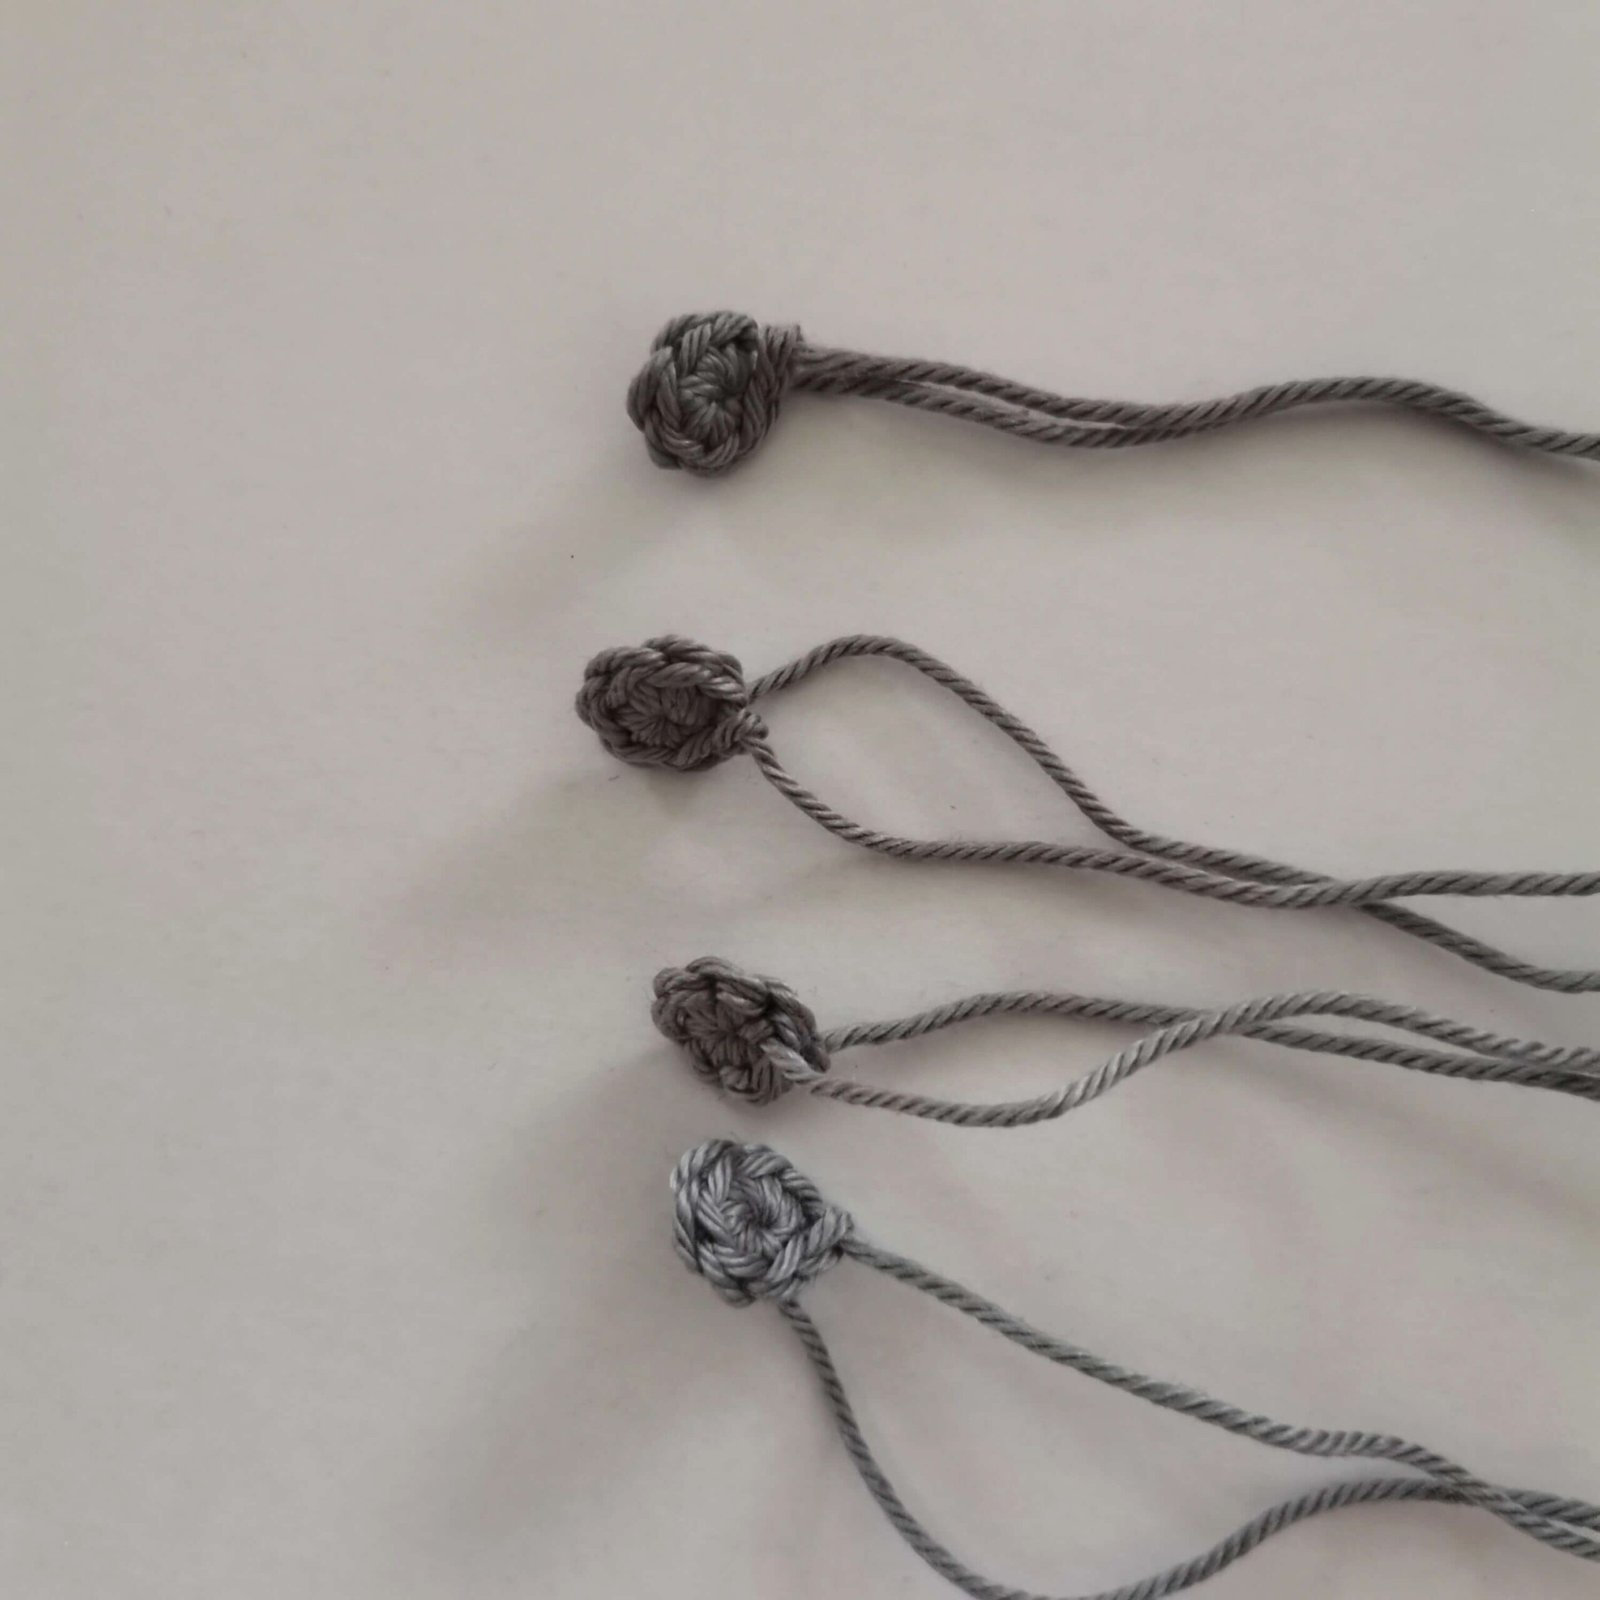
Small Buttons (Make 4 – Grey yarn):
Round 1: MR, 6 SC, sl st in first (6)
Fasten off, leaving a long tail for sewing.
Free Crochet Camera Pattern by EmmaS Dolls
Assembling Your Camera
- Body Connection: Using SC all around, connect the Main Part of the camera to the Bottom part.
- Lens Details: Sew the Lens Release Button onto the side of the lens.
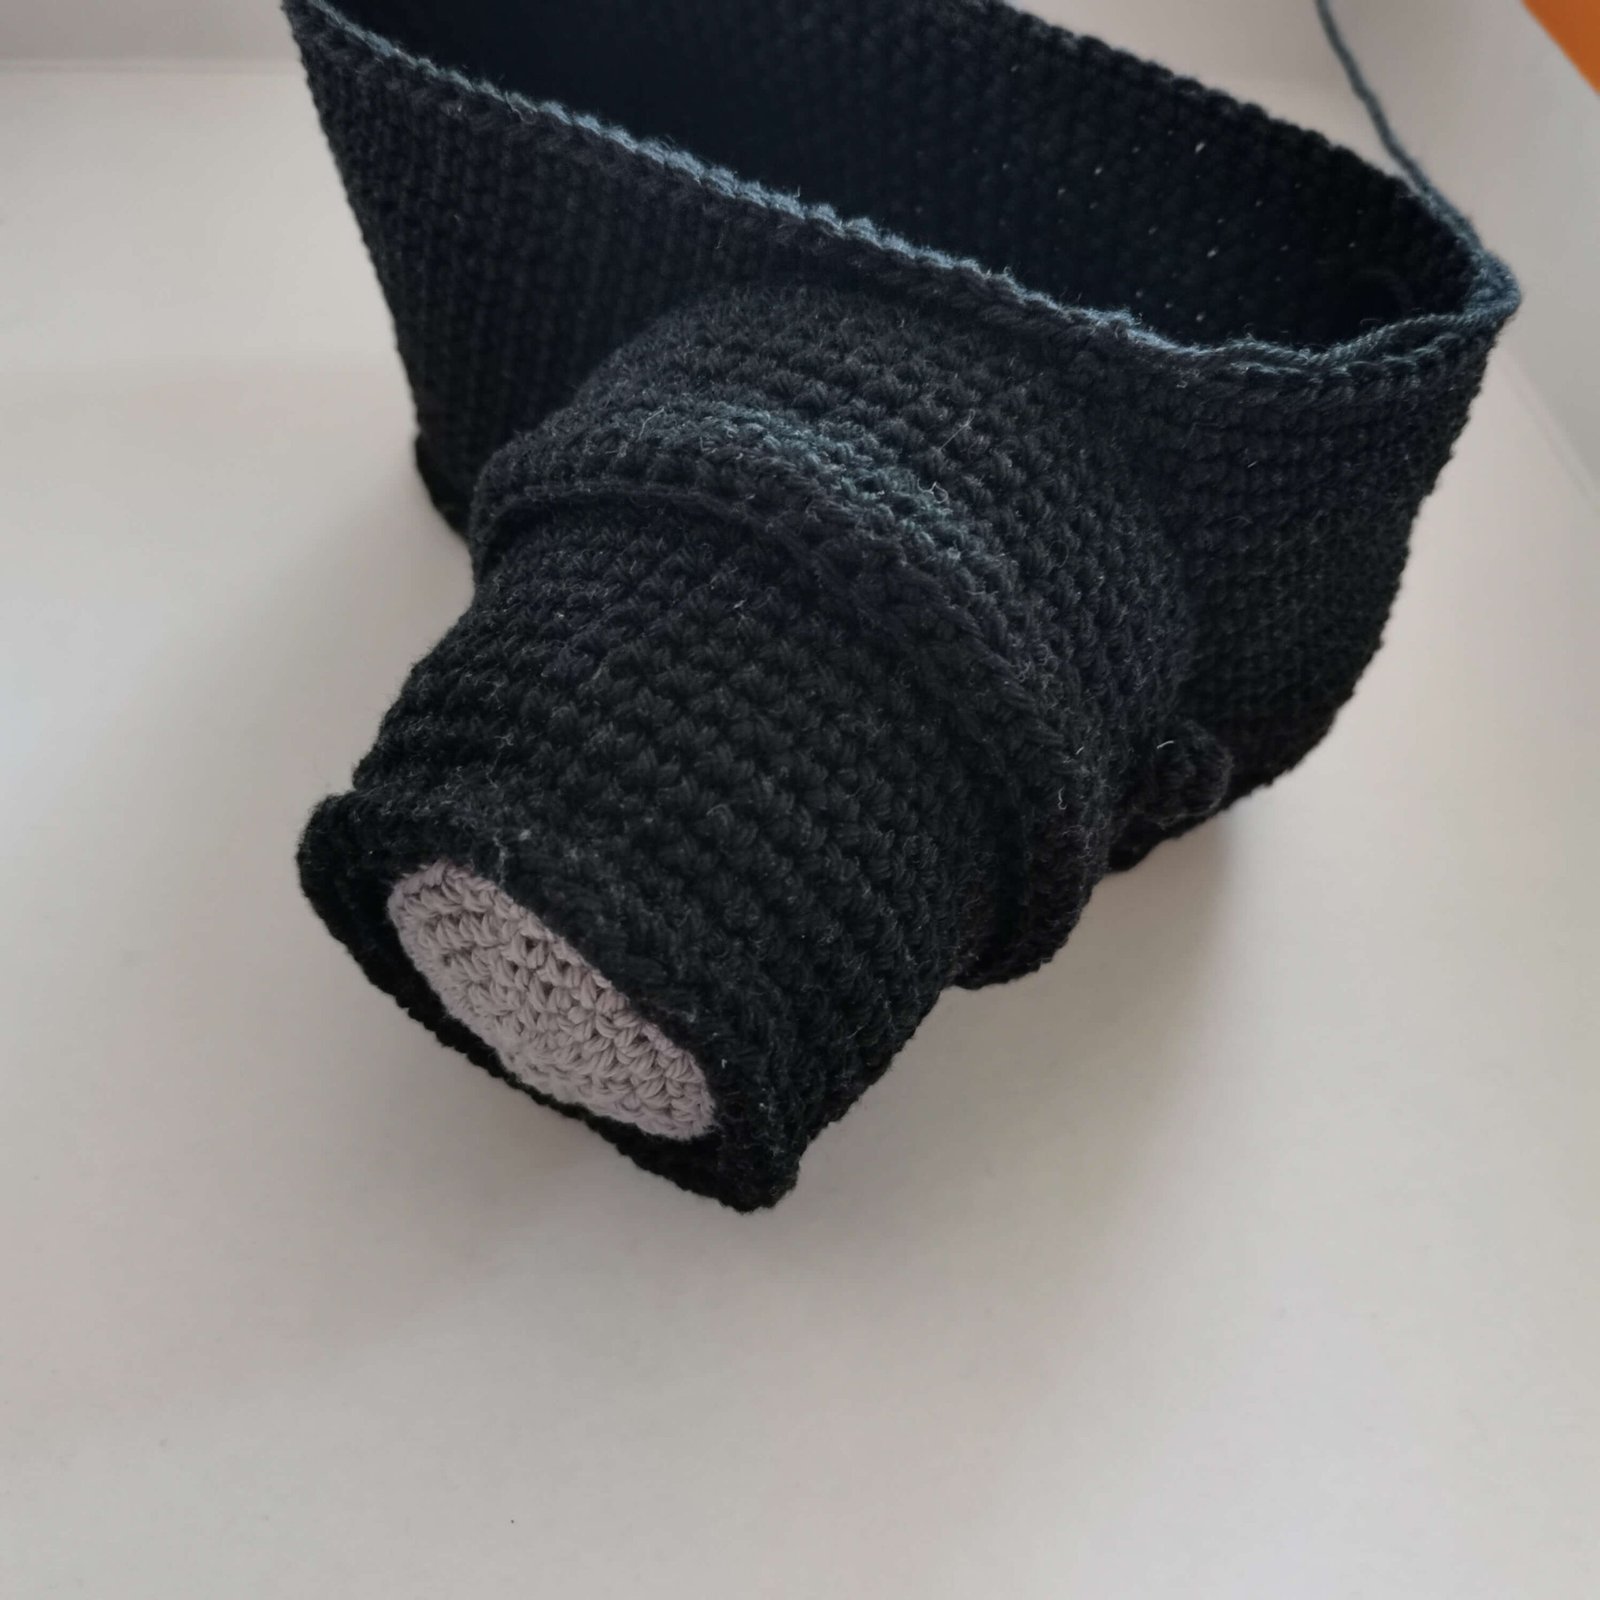
- Attaching Lens: Stuff the lens firmly and sew it onto the front of the Main Part.
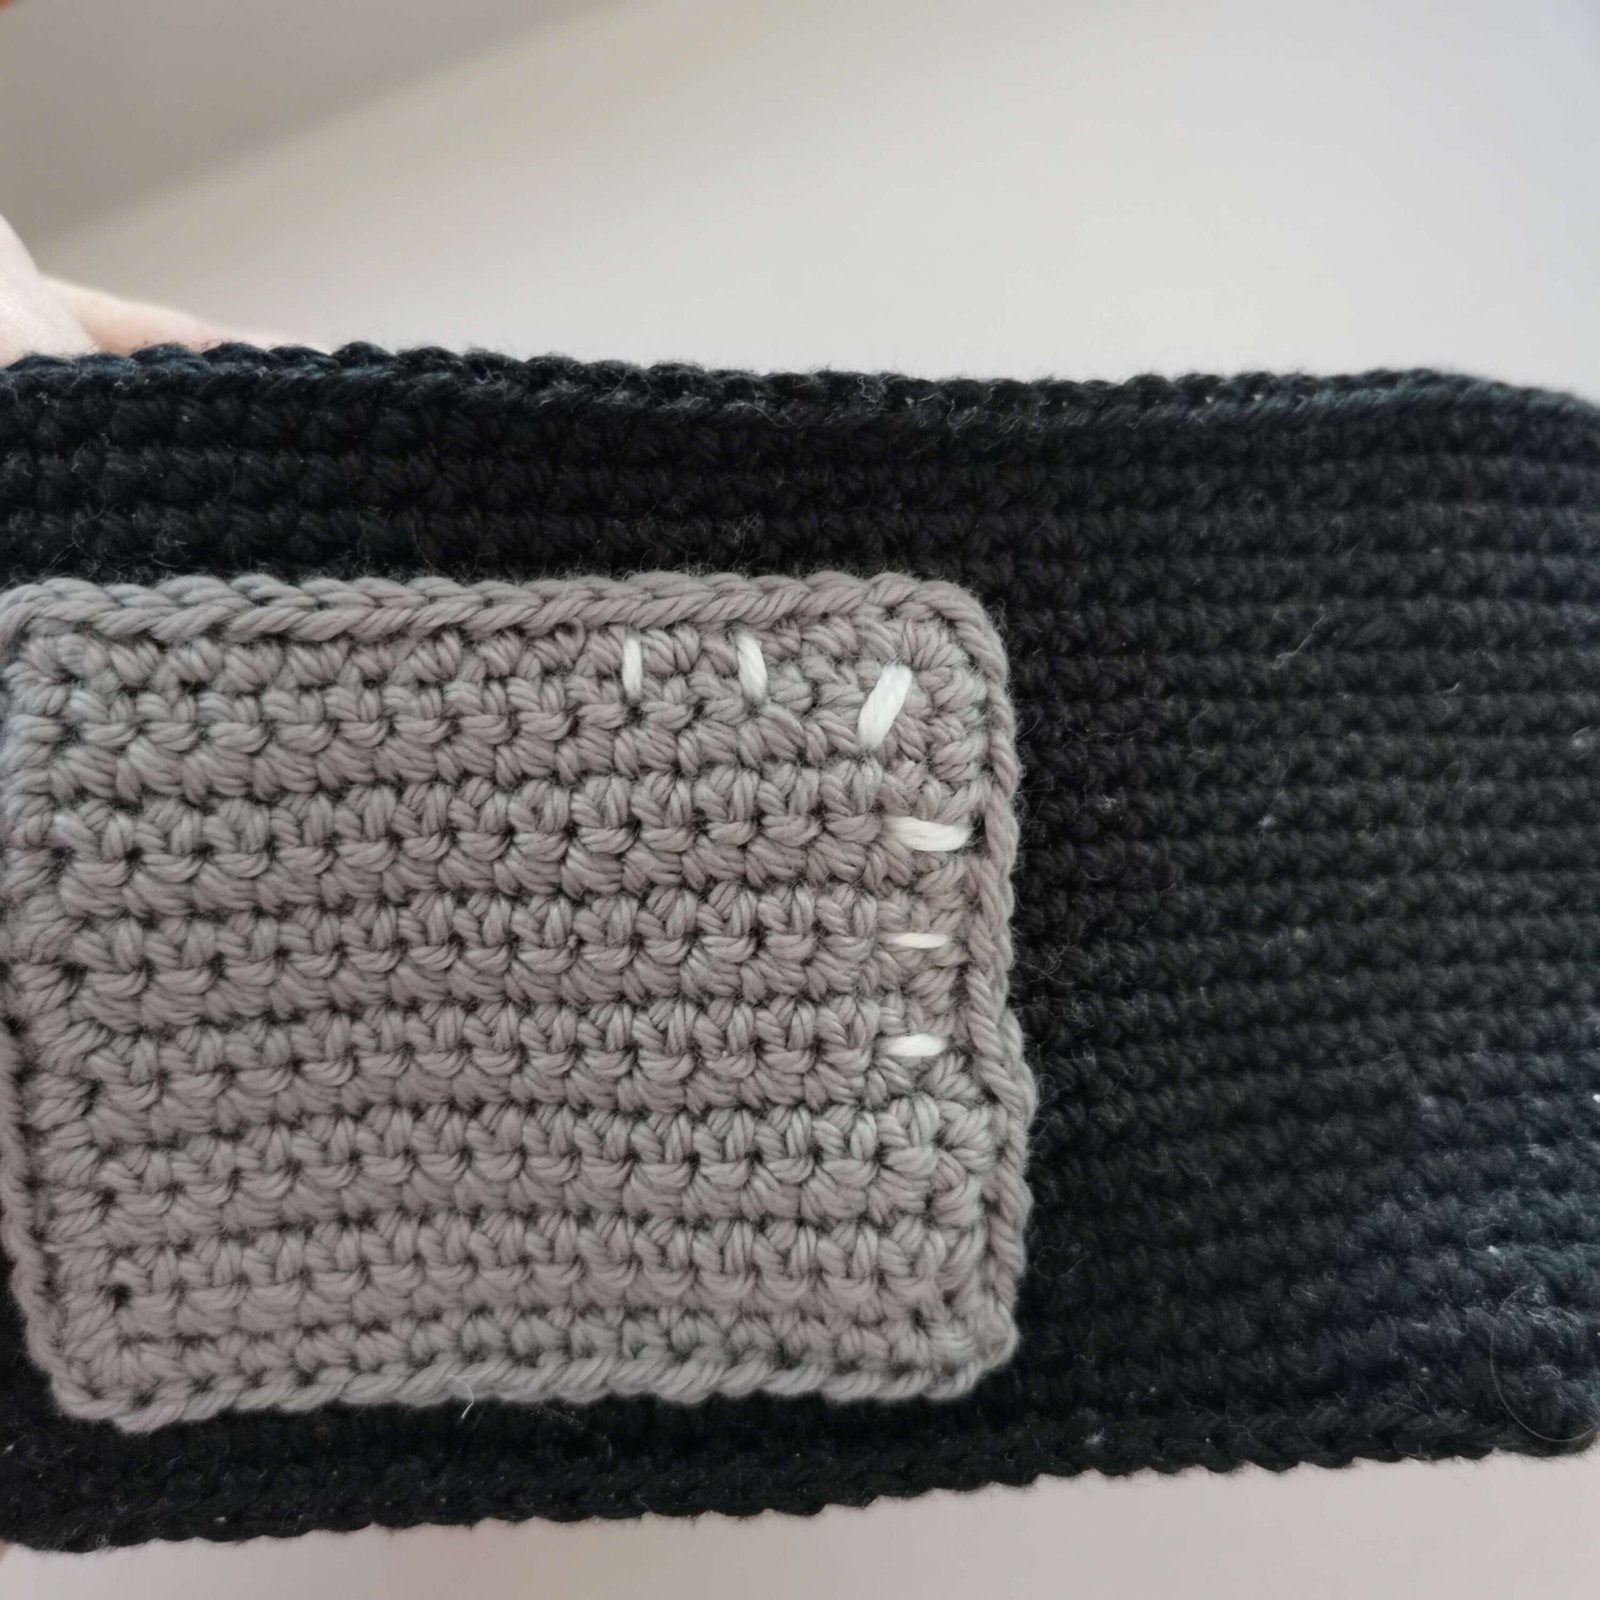
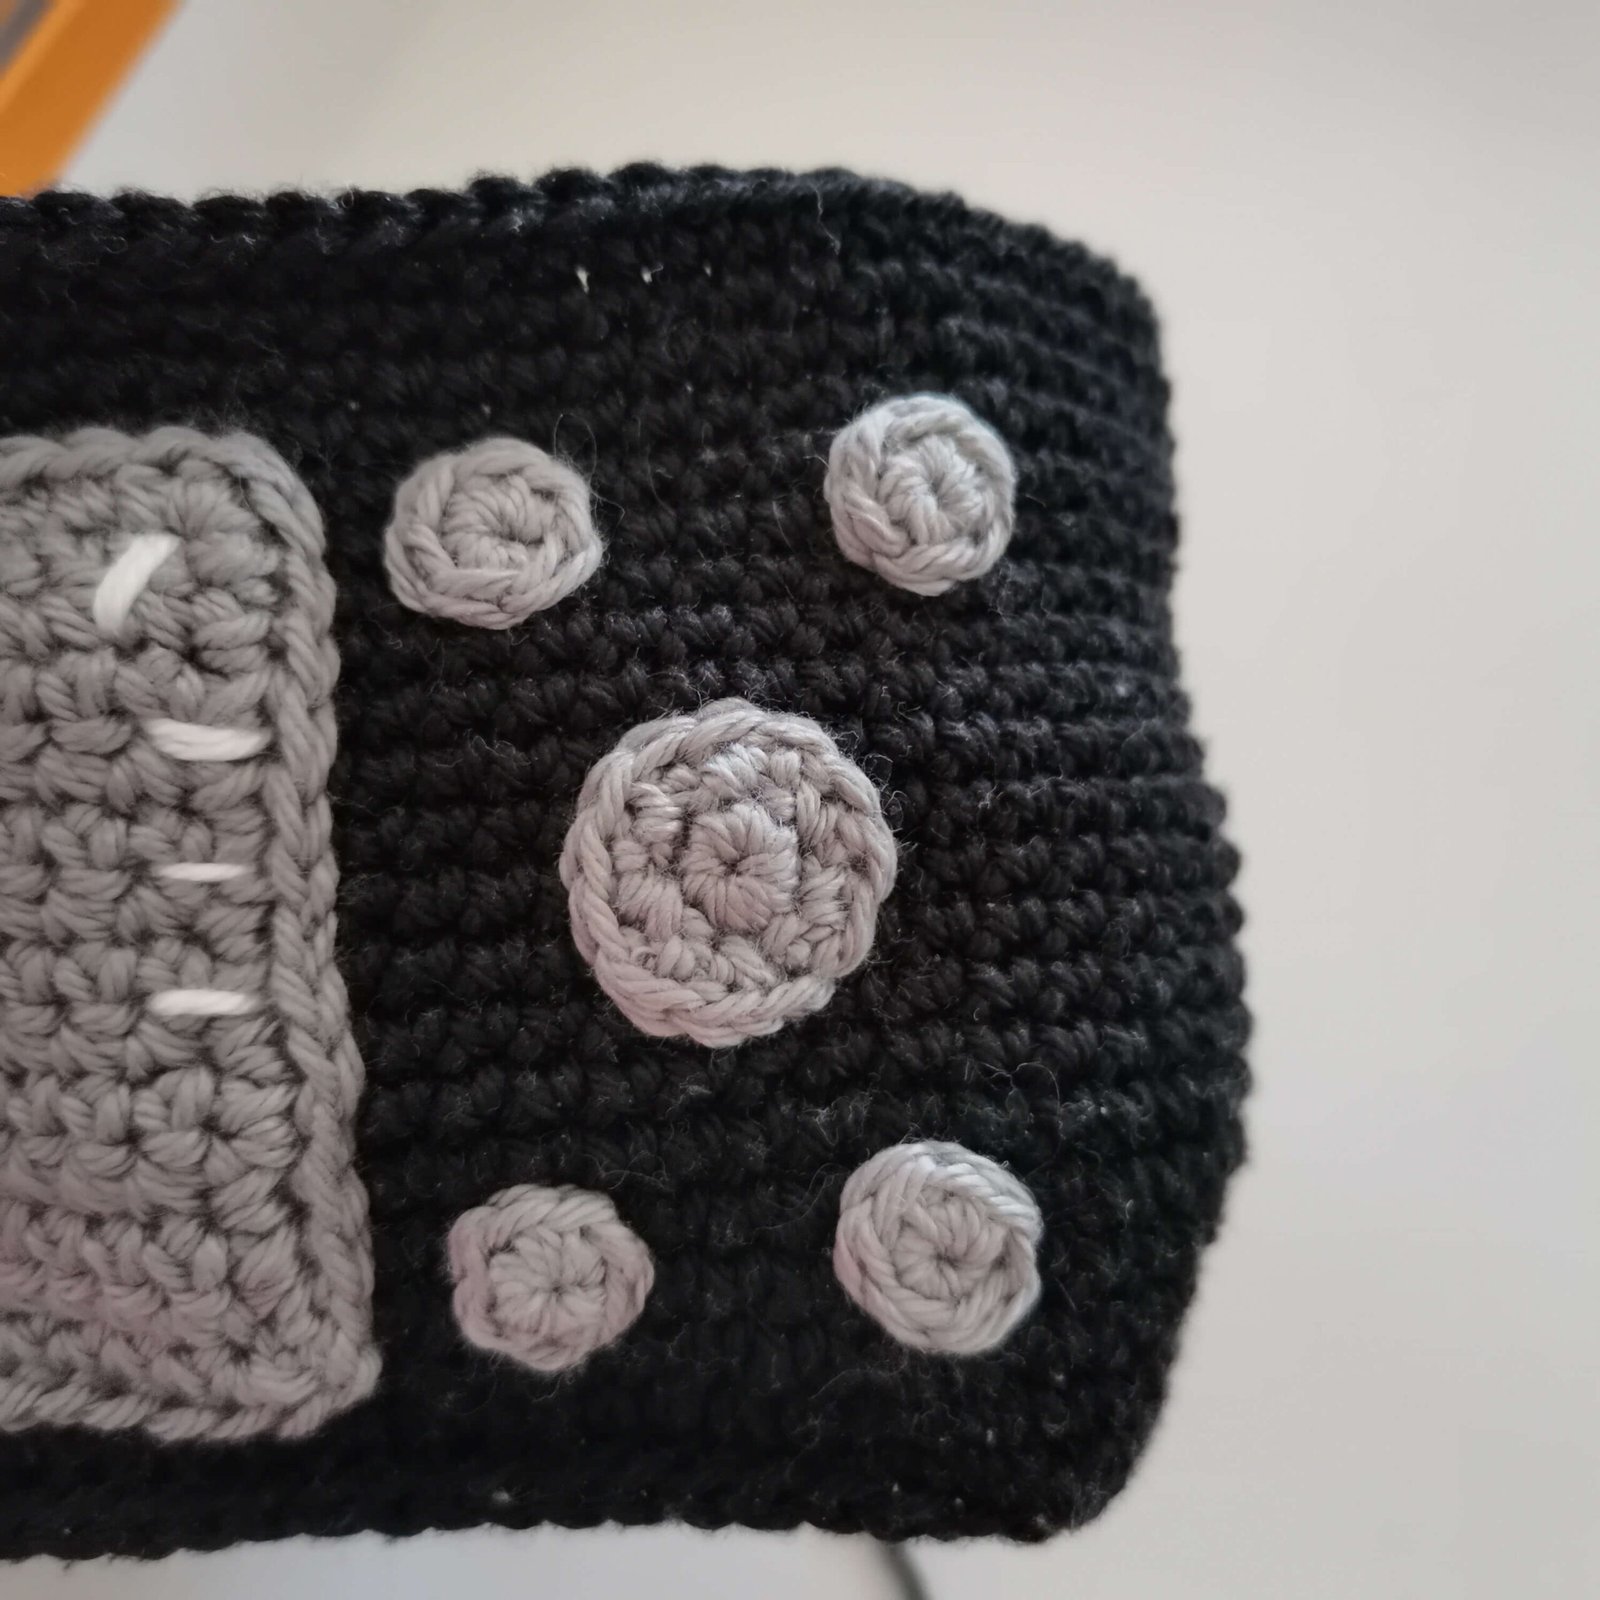
- Back Display: Sew the Display onto the back of the Main Part.
- Back Buttons: To the right of the display, sew the Cross Keys and the 4 Small Buttons, following the placement in the photos.
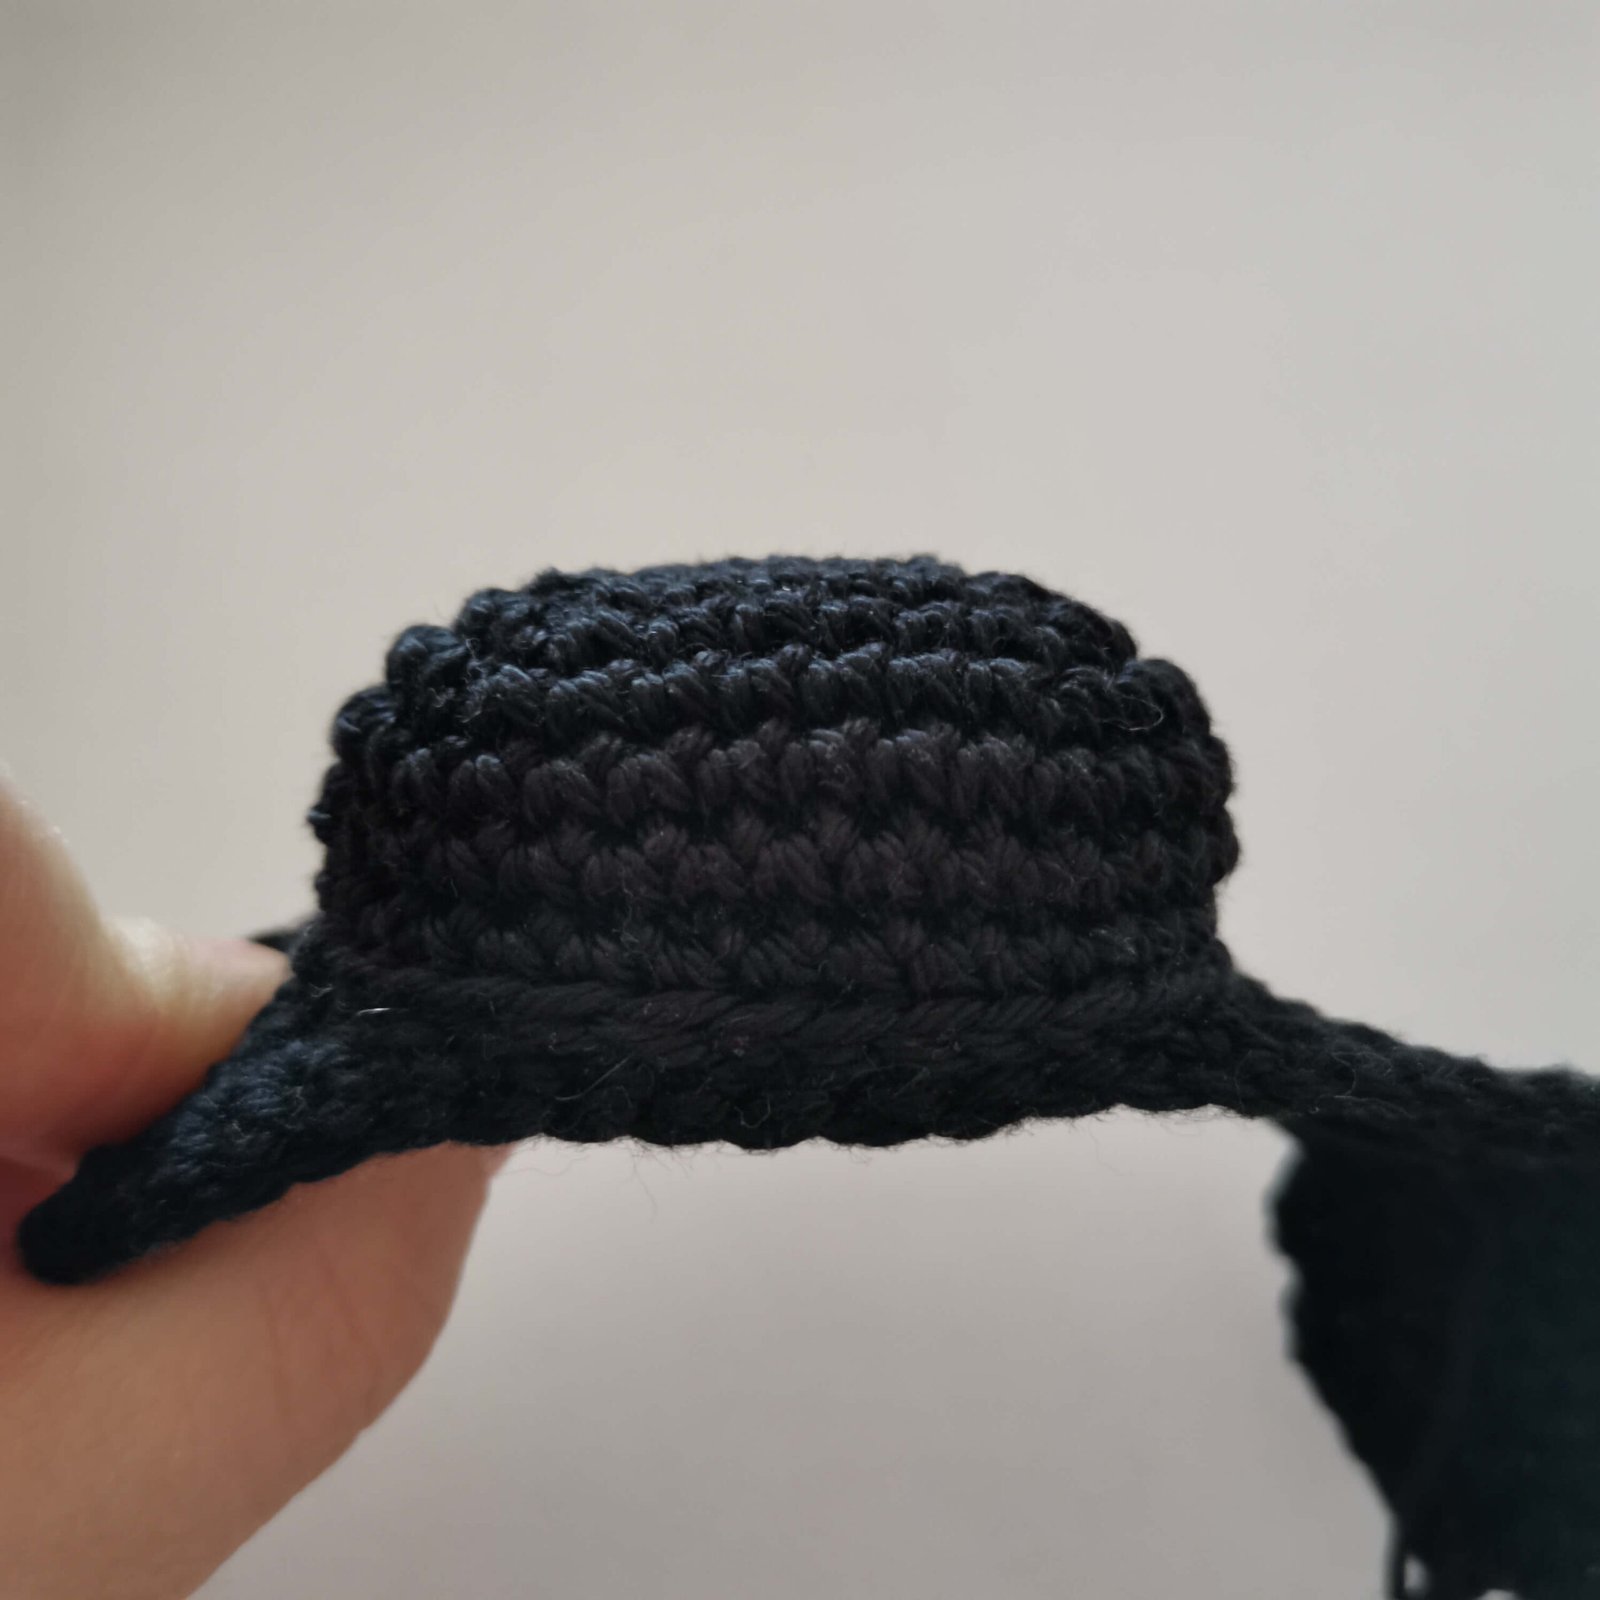
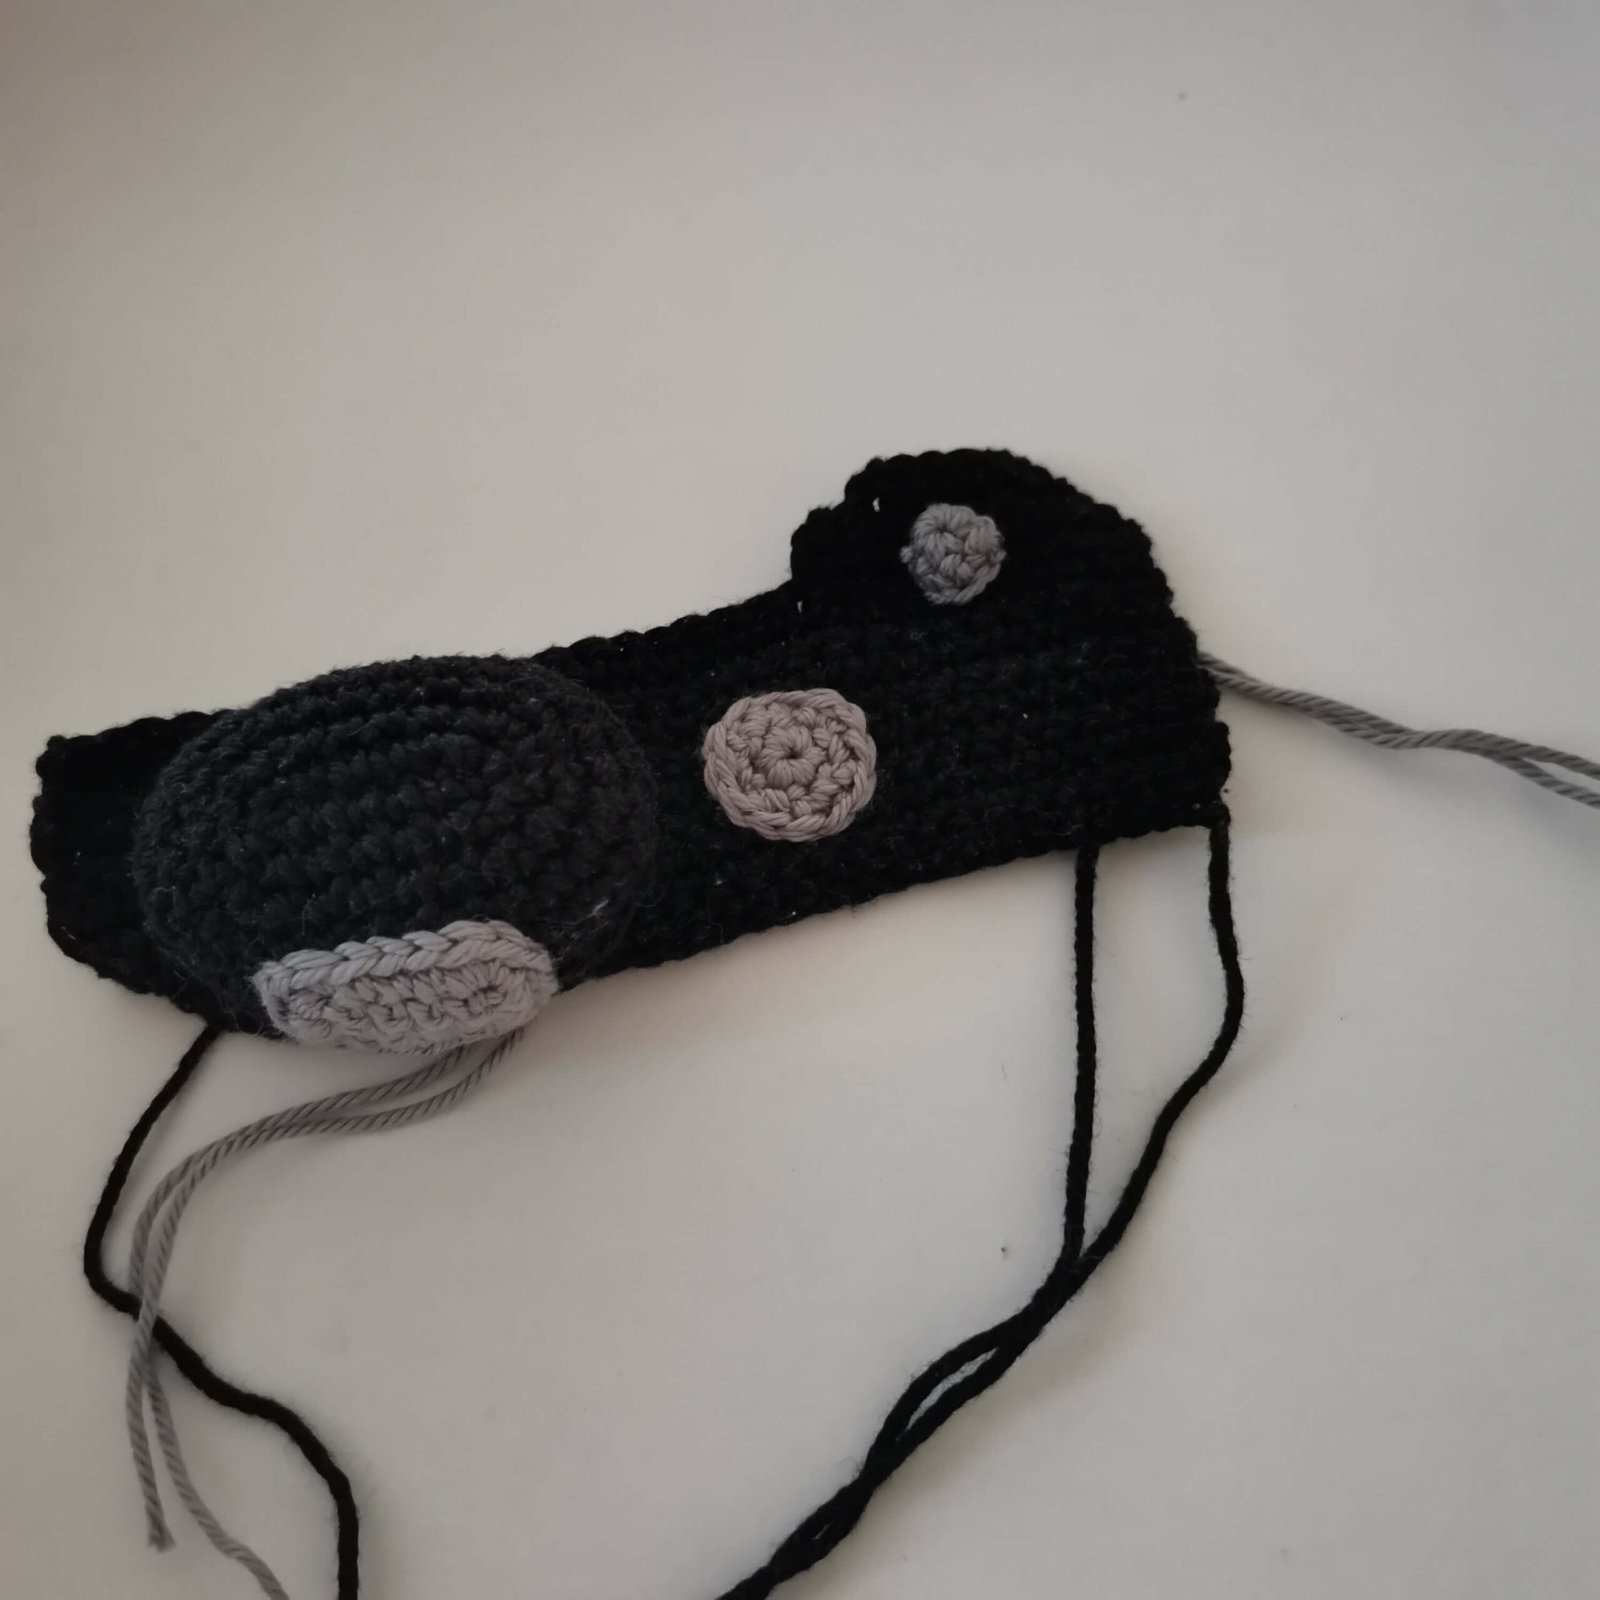
- Flash: Stuff the Flash part and sew it onto the Top part of the camera.
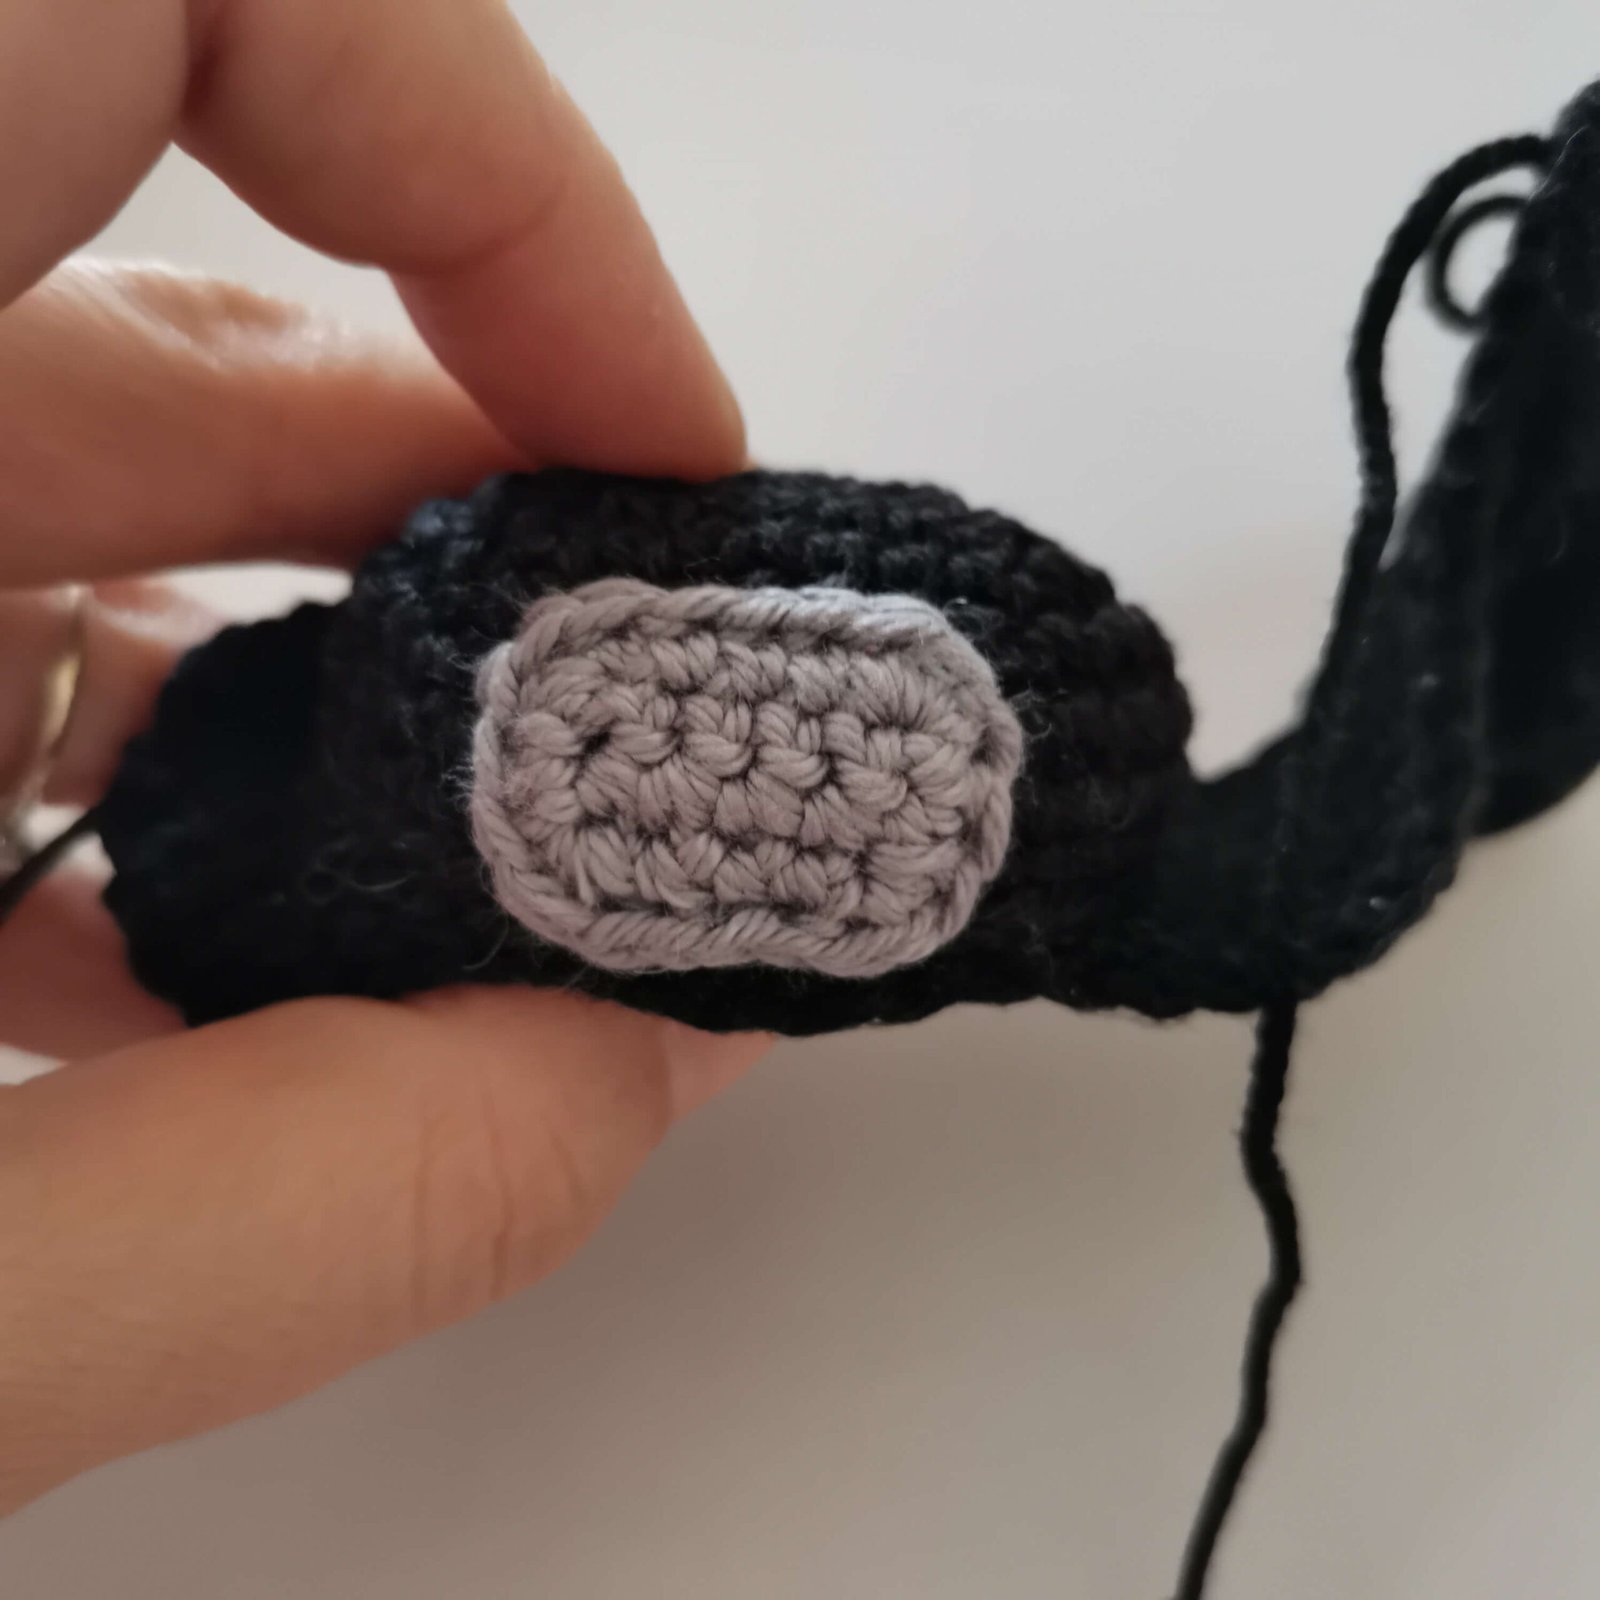
- Viewfinder: Sew the Viewfinder onto the back part of the flash.
- Top Buttons: To the right of the flash, sew the Mode Dial and the Shutter Button.
- Final Closing: Stuff the Main Part of the camera firmly and connect it to the Top part with SC all around.
- Finishing Touches: Embroider white lines on the lens and the display for a realistic glass effect.


Free Crochet Camera Pattern by EmmaS Dolls
Explore More Free Patterns
If you enjoyed making this amigurumi camera, don’t stop here! I have a growing library of free crochet patterns on my website, ranging from cute animals like the Plush Bunny and Crochet Dinosaur to seasonal favorites like the Lucky Clover. My goal is to keep providing high-quality designs for free so that everyone can enjoy the magic of crochet. Take a look around and find your next weekend project!
Prefer to Crochet Offline?
I know that some of you prefer to work away from a screen or simply want to support my work without the distraction of ads. For an ad-free, printer-friendly experience, you can find the high-quality PDF version of this pattern and many others in my Etsy and Ravelry shops. These PDF files are carefully formatted for easy reading and are perfect for keeping in your physical pattern collection!
Join the EmmaS Dolls Community
Never miss a stitch! I am constantly working on new designs, and there are many more free patterns on the way. To be the first to know about new releases, exclusive updates, and special promotions, make sure to sign up for my newsletter. Join our creative community today and let’s keep making beautiful things together!
Pin it for later!
Free Crochet Camera Pattern by EmmaS Dolls
Since this pattern is free, please help me keep it that way by not taking screenshots. Keeping the page open while you work supports my studio! Happy crocheting!✨
Pingback: How to Start a Crochet Row: 3 Best Ways to Stop Making Messy Edges - EmmaS Dolls
Pingback: Free Amigurumi Pattern: UFO Flying Saucer