✨To support my free patterns, this post includes affiliate links for materials I love. Thank you for your support! 💖
As the crisp autumn breeze starts to settle in, nothing feels cozier than picking up a hook and working on a quick seasonal project. If you are looking for a quick and satisfying stash-buster, this free crochet pumpkin pattern is the ultimate project to usher in the cozy vibes of fall. Whether you want to deck out your tiered tray, create a festive mantle display, or craft adorable handmade gifts for your loved ones, these mini amigurumi pumpkins add an instant touch of handmade warmth to any space.
Two Cute Sizes for the Perfect Fall Patch
To give you complete flexibility for your autumn decor, this free crochet pumpkin pattern includes instructions for two different sizes:
- Bigger Pumpkin: Measures approximately 2 x 3.15 inches (5 x 8 cm) when made with fine cotton yarn and a 2mm crochet hook.
- Smaller Pumpkin: Measures approximately 1 x 2 inches (2.5 x 5 cm) when made with fine cotton yarn and a 2mm crochet hook.
Combining both sizes creates a wonderful visual balance when styling your home or photo setups!
Customize Your Pumpkins: From Mini Accents to Plush Cushions
What makes this design so versatile is how effortlessly you can experiment with colors, textures, and yarn weights.
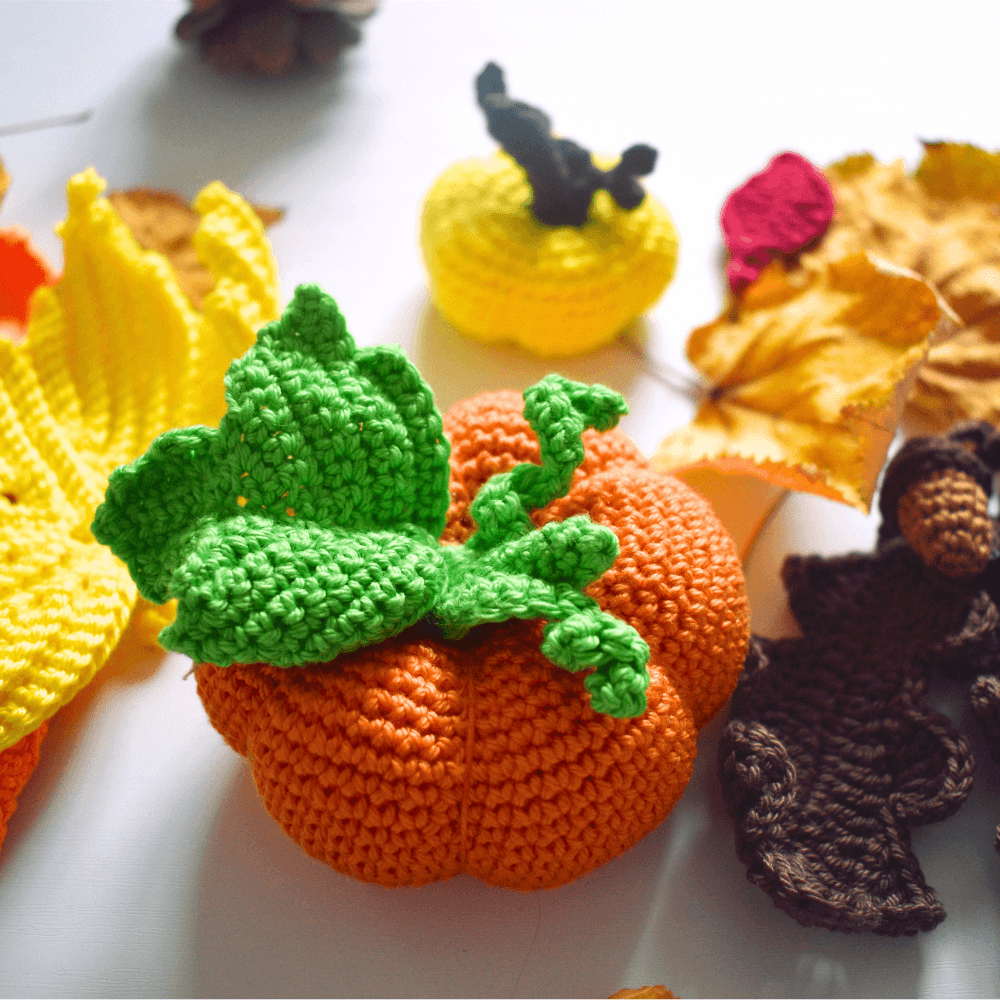
As shown in the photos, you can go with a classic bright orange pumpkin topped with lush green leaves and swirling vines, or opt for a warm, sunny yellow shade paired with rustic brown accents.
Pro Tip: While using fine cotton yarn and a 2mm hook produces neat, compact mini pumpkins, you can easily swap materials for a completely different look. If you craft this pattern using plush chenille yarn (super bulky) and a larger hook, you will turn these mini designs into soft, squishy pumpkin plushies or adorable mini throw pillows!
Perfect Fall Styling Ideas
- Tiered Trays & Centerpieces: Group a mix of small and larger pumpkins in different shades together with pinecones and faux fall leaves for an effortless table arrangement.
- Garlands & Keychains: Attach a small jump ring or loop to turn the smaller pumpkin into a festive bag charm, or string a few together along jute twine for a cozy fireplace garland.
- Quick Handmade Market Prep: Because these work up so quickly, they make excellent autumn craft fair items, teacher appreciation gifts, or Thanksgiving dinner favors.
New to Amigurumi? I’ve Got You Covered!
If you are an absolute beginner to the world of amigurumi, don’t worry at all! This project is wonderfully simple, and if you ever feel stuck on a technique, I have plenty of resources right here on the blog to help you out. Be sure to check out my Crochet Abbreviations guide and my step-by-step tutorial on How to Crochet Basic Stitches, which includes plenty of clear video tutorials to guide your hook. Plus, explore my comprehensive Perfect Amigurumi Guide series to learn all my favorite insider tips on stitch tension, neat stuffing, and seamless finishing so your pumpkins turn out picture-perfect on your very first try!
🌸 Choose how you want to craft:
- 🌐 Read it free on this blog (supported by ads).
- 📄 Prefer a printable PDF? Get the clean, ad-free PDF version on my Ko-fi shop for symbolic price 💖
Materials list:
- Yarn: I use a 100% cotton yarn from my local store. The best match and my top recommendation for this pattern is Paintbox Yarns Cotton DK.
- Hook: I used a 2mm hook. I highly recommend Clover Amour Hooks for the best experience.
- Tools & Supplies:
- Fiberfill, scissors, and a tapestry needle.
- Optional: Stitch markers.
- Find all these essentials here: Crochet Supplies & Accessories.
Crochet abbreviations:
| Abbreviation | Stitch / Technique |
| MR | magic ring |
| CH | chain |
| SC | single crochet |
| INC | increase |
| DEC | decrease |
| SL ST | slip stitch |
| SK ST | skip stitch |
| BLO | back loop only |
| FLO | front loop only |
FREE CROCHET PUMPKIN PATTERN
Note: Please note that all process photos show the creation of the smaller pumpkin. The construction method and technique are identical for the larger size, with only the stitch counts varying.
Bigger Pumpkin
Round 1: mr, 6 sc [6]
Round 2: 6 inc [12]
Round 3: (1 sc, inc) x 6 [18]
Round 4: (2 sc, inc) x 6 [24]
Round 5: (3 sc, inc) x 6 [30]
Round 6: (4 sc, inc) x 6 [36]
Round 7: (5 sc, inc) x 6 [42]
Round 8: (6 sc, inc) x 6 [48]
Round 9: (7 sc, inc) x 6 [54]
Round 10: (8 sc, inc) x 6 [60]
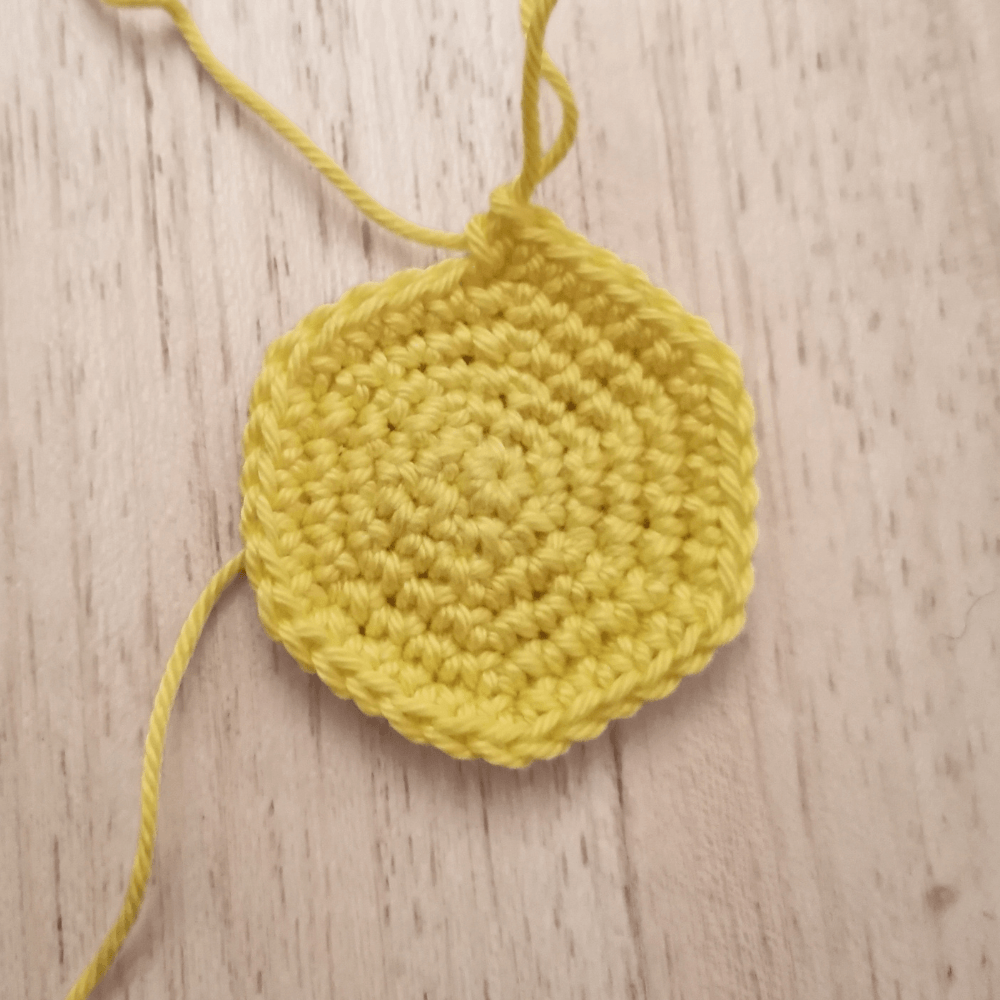
Rounds 11–20: 60 sc [60] (10 rounds)
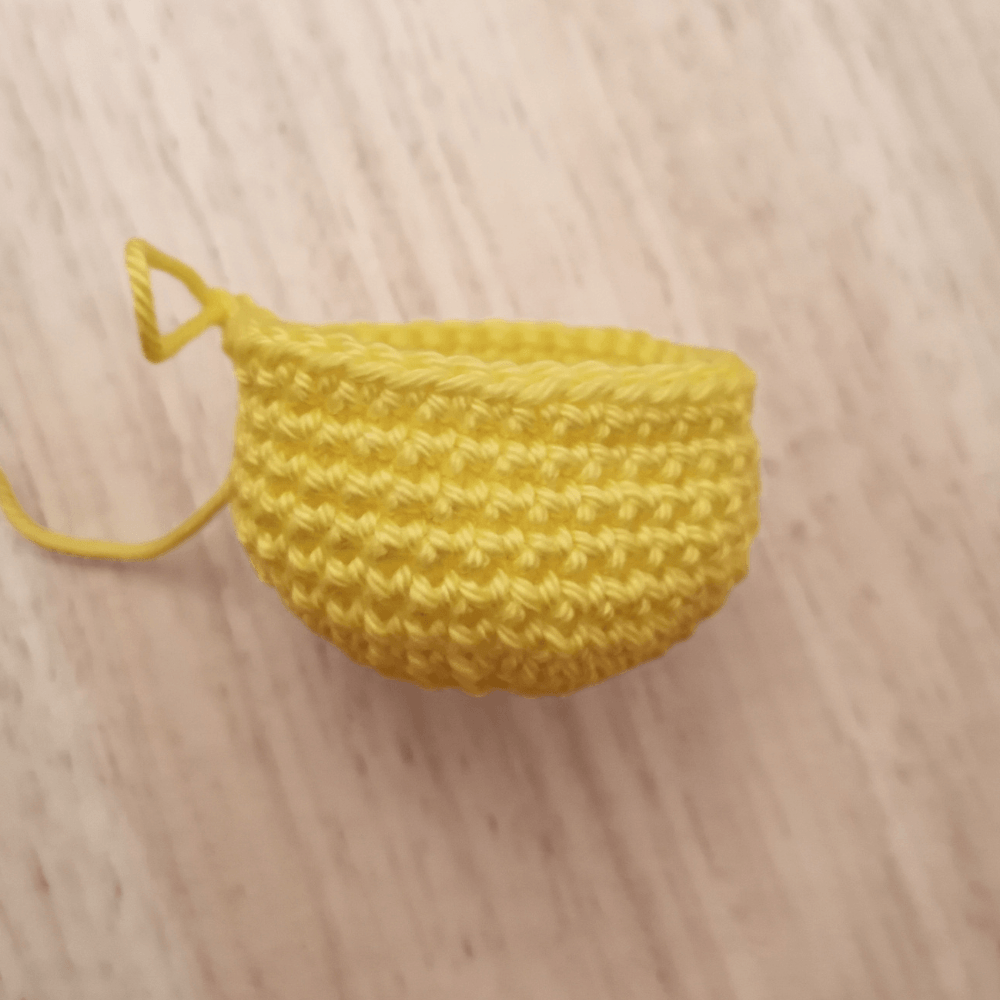
Round 21: (8 sc, dec) x 6 [54]
Round 22: (7 sc, dec) x 6 [48]
Round 23: (6 sc, dec) x 6 [42]
Round 24: (5 sc, dec) x 6 [36]
Round 25: (4 sc, dec) x 6 [30]
Round 26: (3 sc, dec) x 6 [24]
Stuff the pumpkin firmly.
Round 27: (2 sc, dec) x 6 [18]
Round 28: (1 sc, dec) x 6 [12]
Fasten off, leaving a very long tail for shaping/sewing.
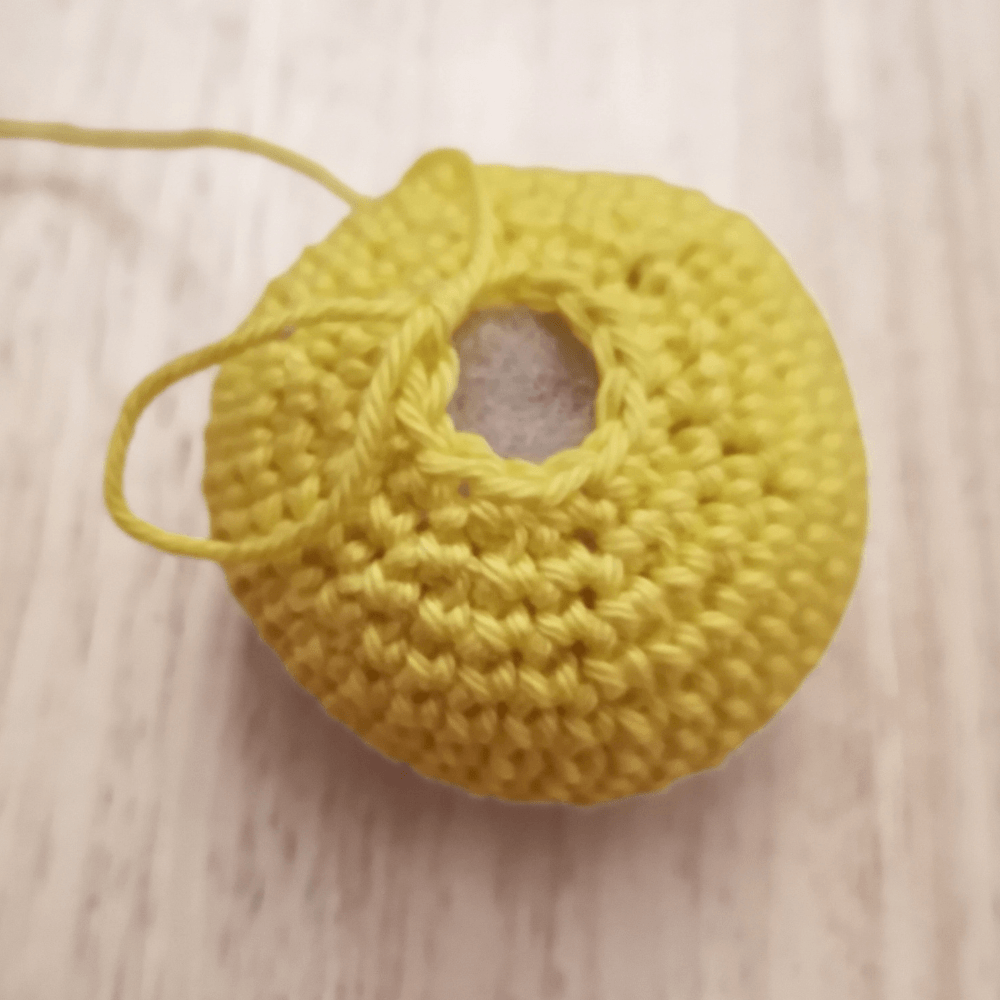
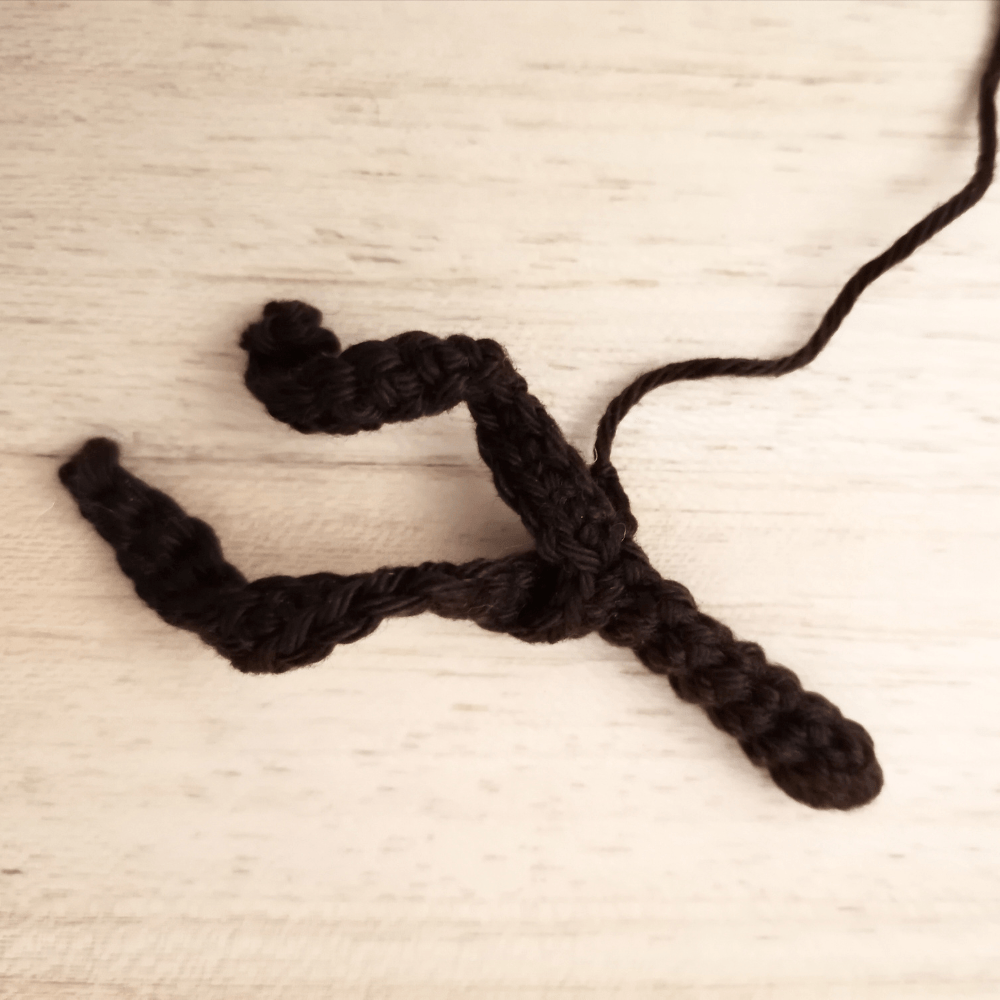
Stem / Twig
Round 1: mr, 6 sc [6]
Rounds 2–8: 6 sc [6] (7 rounds)
Round 9: ch 21, starting in the 2nd chain from the hook do 20 sc, 3 sc on stem, ch 21, starting in the 2nd chain from the hook do 20 sc, 3 sc on stem
Fasten off, leaving a long tail for sewing.
Leaf
Ch 6
Work in BLO until the end
Row 1: starting in the 2nd chain from the hook: 5 sc, ch 2, 3 sc, ch 1, turn
Row 2: 4 sc, ch 2, 4 sc, ch 1, turn
Row 3: 5 sc, ch 2, 3 sc, ch 3, turn
Row 4: starting in the 2nd chain from the hook: 4 sc, sl st, ch 1, turn
Row 5: 5 sc, ch 3, turn
Row 6: starting in the 2nd chain from the hook: 7 sc, sl st, 4 sc, ch 3, turn
Row 7: starting in the 2nd chain from the hook: 4 sc, sl st, ch 1, turn
Row 8: 5 sc, ch 3, turn
Row 9: starting in the 2nd chain from the hook: 7 sc, sl st
Stem / Vine extension
Ch 4,
starting in the 2nd chain from the hook: 1 sc, 2 sl st, sl st on the leaf.
Fasten off.
You can make one, two, three, or more leaves and sew them together. Sew the leaves to the stem/twig, and then sew everything onto the 28th round of the pumpkin.
Assembly & Shaping
Pass the yarn through the bottom center of the pumpkin, then up through the top center, pulling tightly to create the ridges. Repeat this 6 times to define the 6 segments of the pumpkin. Fasten off and hide the yarn end inside the pumpkin.
Smaller Pumpkin
Round 1: mr, 6 sc [6]
Round 2: 6 inc [12]
Round 3: (1 sc, inc) x 6 [18]
Round 4: (2 sc, inc) x 6 [24]
Round 5: (3 sc, inc) x 6 [30]
Round 6: (4 sc, inc) x 6 [36]
Rounds 7–12: 36 sc [36] (6 rounds)
Round 13: (4 sc, dec) x 6 [30]
Round 14: (3 sc, dec) x 6 [24]
Stuff the pumpkin firmly.
Round 15: (2 sc, dec) x 6 [18]
Round 16: (1 sc, dec) x 6 [12]
Fasten off, leaving a very long tail for shaping/sewing.
Stem / Twig
Round 1: mr, 6 sc [6]
Rounds 2–6: 6 sc [6] (5 rounds)
Round 7: ch 21, starting in the 2nd chain from the hook do 20 sc, 3 sc on stem, ch 21, starting in the 2nd chain from the hook do 20 sc, 3 sc on stem
Fasten off, leaving a long tail for sewing.
Note: The assembly, leaf pattern, and pumpkin shaping technique are exactly the same as for the bigger pumpkin. Sew the leaves and stem onto the 16th round of the smaller pumpkin and define the 6 segments in the same way
More Free Spooky & Fall Crochet Patterns
If you loved crafting these mini pumpkins and want to keep the cozy seasonal momentum going, there are plenty of other free holiday projects waiting for you on the blog! For a fun blend of cute and creepy, check out my free zombie bunny crochet pattern, which makes a fantastically unique addition to your Halloween setup. If you are leaning into classic haunt vibes, my free crochet ghost pattern works up just as quickly as these pumpkins and looks adorable hanging alongside them on a mantel or tiered tray. Mixing these different autumn and spooky designs allows you to build a complete, handmade fall display that brings so much personality to your home.
Prefer Ad-Free Offline Stitching? Get the Printable PDF!
While I love offering this crochet pattern for free here on the blog to keep craft resources accessible to everyone, I know many crocheters prefer working without screen distractions or ad pop-ups. If you like to print your patterns out, mark off rows with a pen, or save digital copies directly to your tablet for crafting on the go, an ad-free PDF version is available for purchase. You can download your copy today from my Etsy, Ravelry, or Ko-fi shops. Purchasing the PDF is also a wonderful way to directly support my work so I can continue designing and sharing more free amigurumi patterns with our creative community!
Stay Connected & Never Miss a New Pattern
To make sure you never miss a new release, subscribe to my newsletter! I am constantly working on fresh seasonal concepts, step-by-step guides, and fun amigurumi tutorials, and newsletter subscribers are always the first to know when a new free pattern goes live. Don’t forget to follow along on video and social media too—you can find me on YouTube, Instagram, and TikTok under @emmasdollsstudio. I absolutely adore seeing your creations come to life, so when you finish your little pumpkin patch, please post a photo and tag @emmasdollsstudio so I can admire and share your finished work!
Pin it for Later!
Since this pattern is free, please help me keep it that way by not taking screenshots. Keeping the page open while you work supports my studio! Happy crocheting!✨