✨To support my free patterns, this post includes affiliate links for materials I love. Thank you for your support! 💖
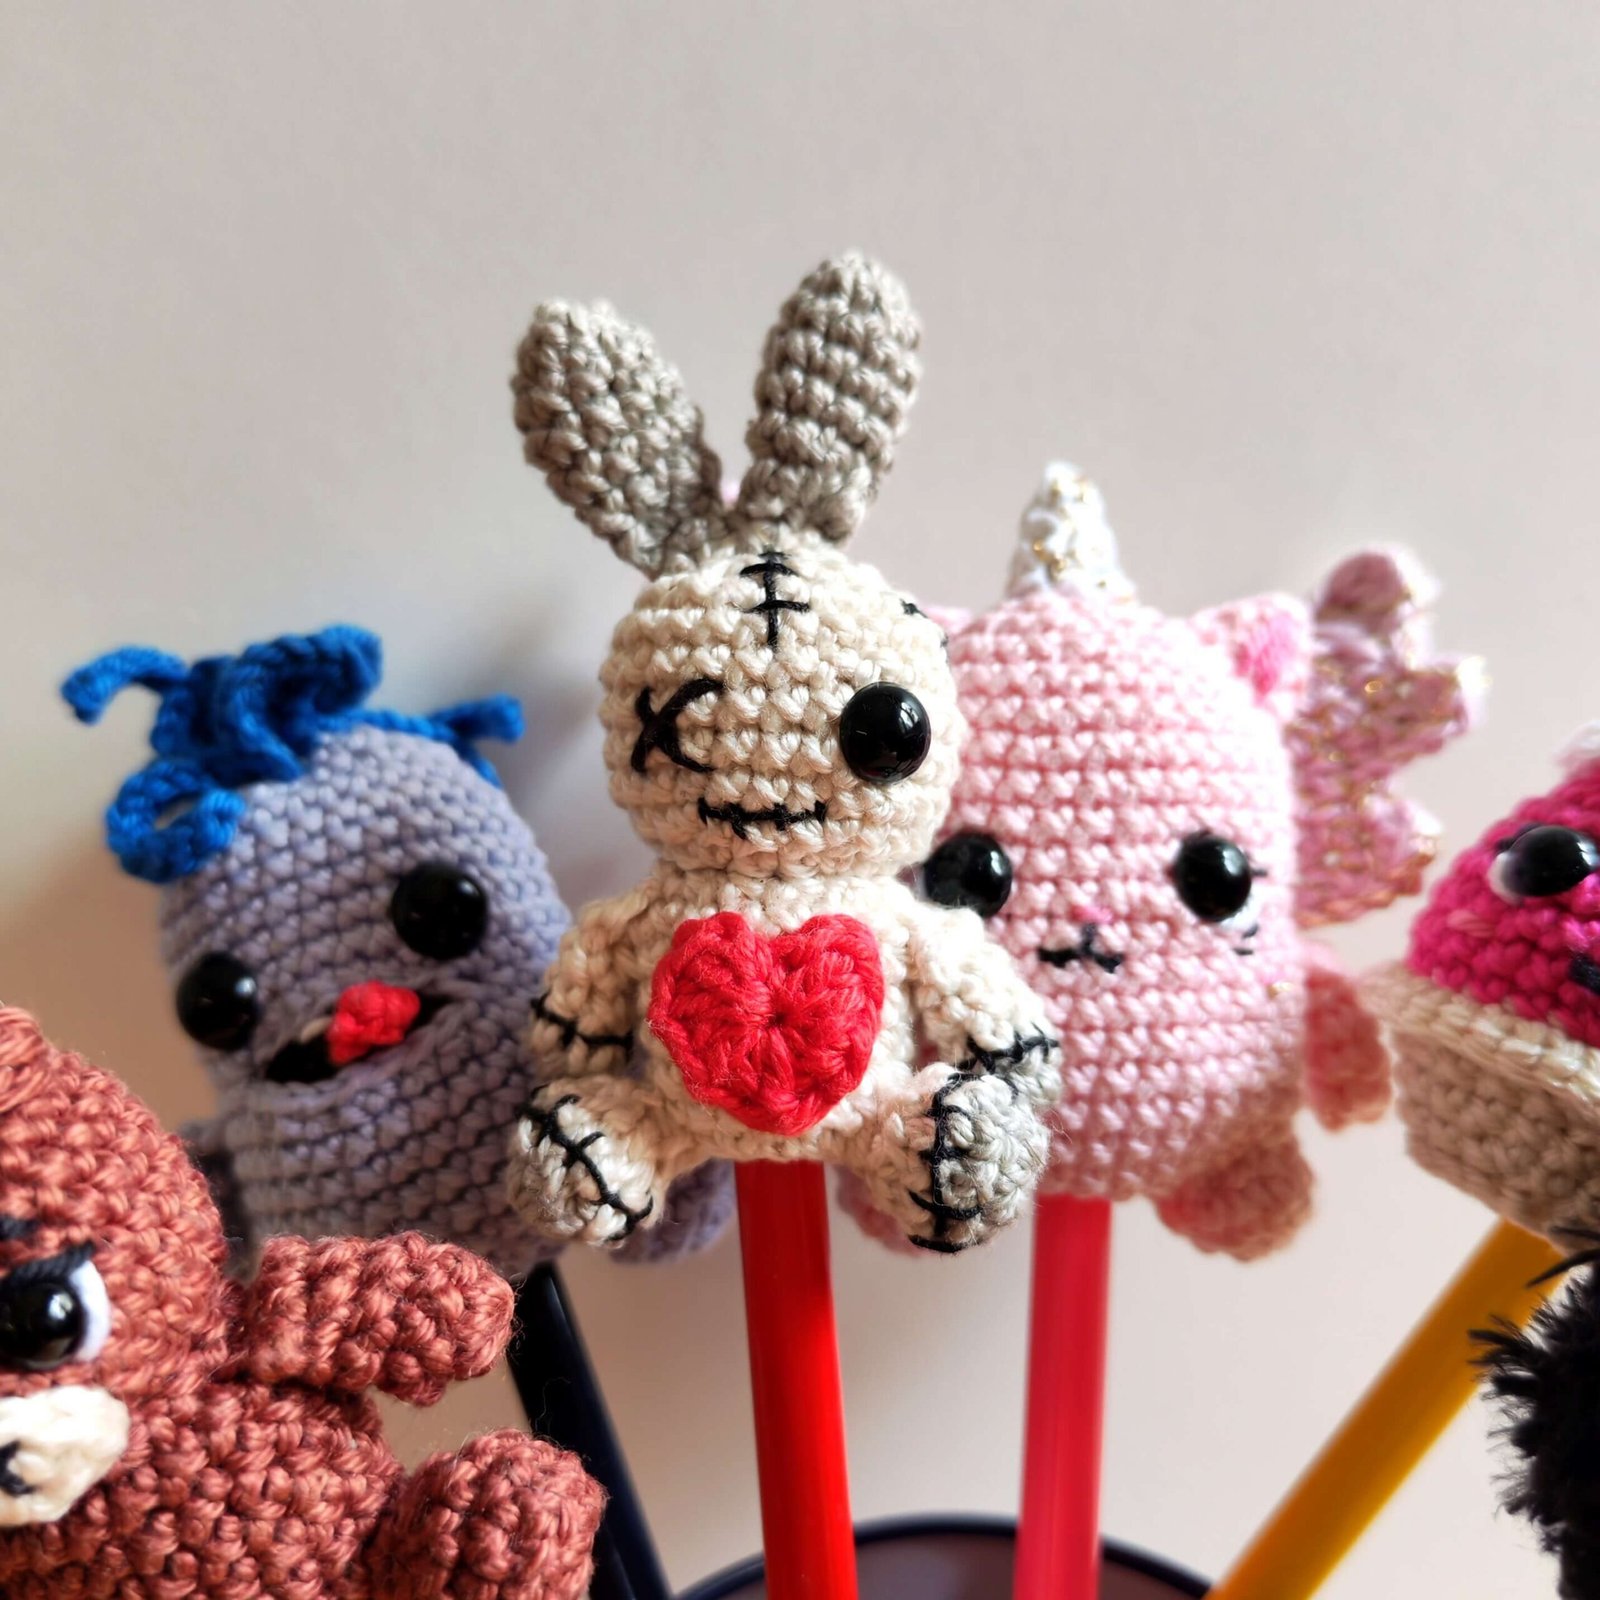
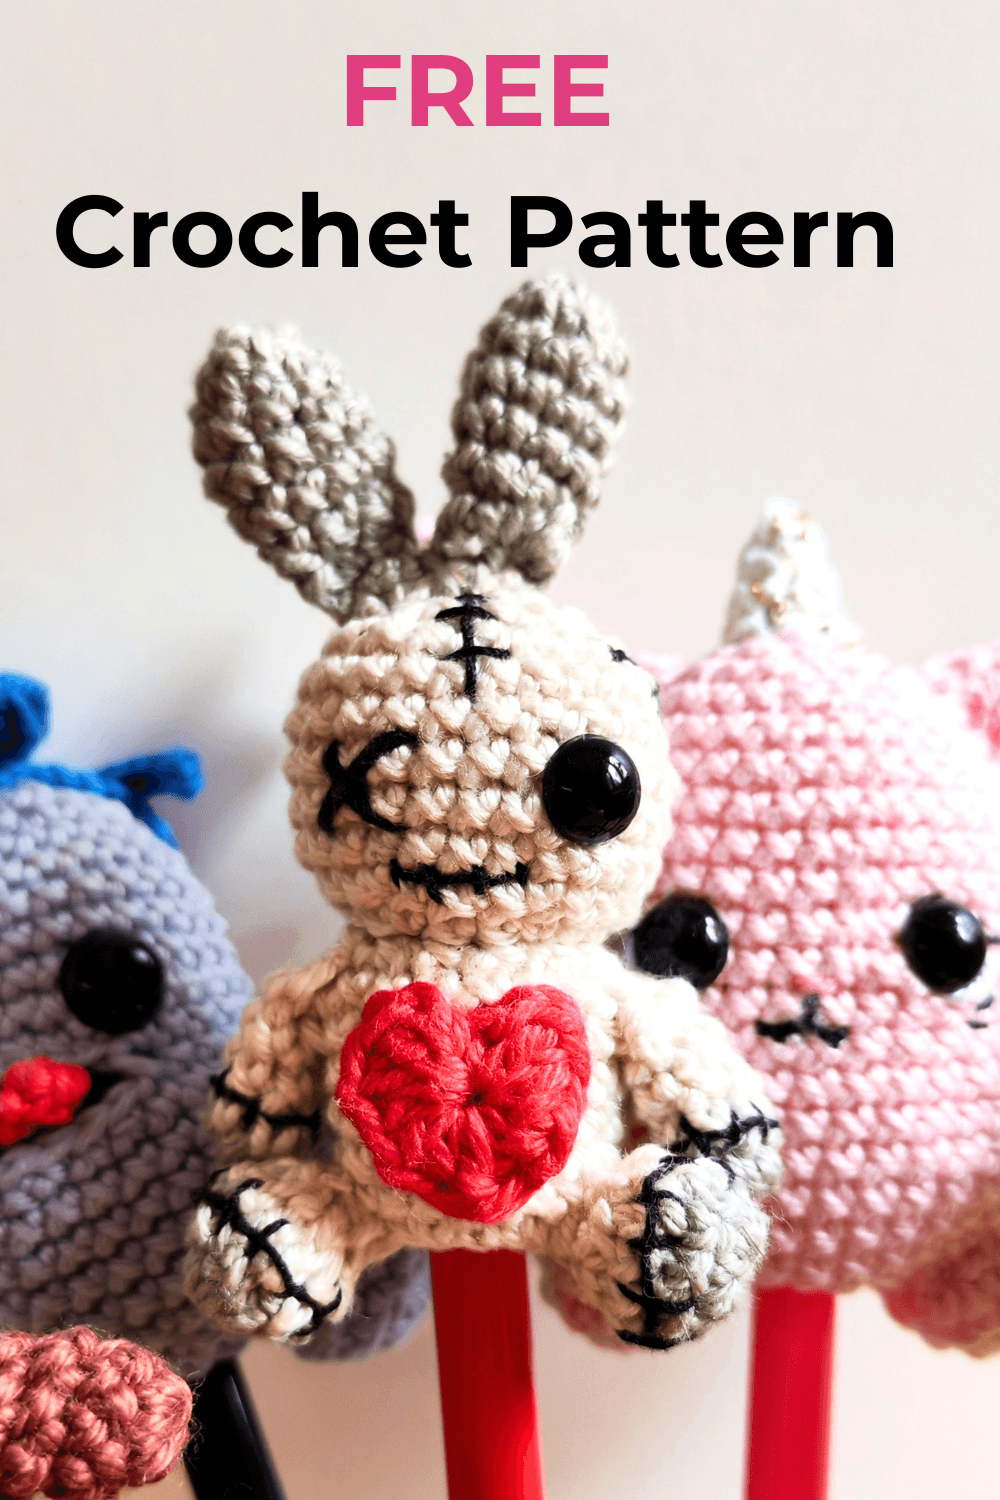
If you are looking for a quick, unique, and delightfully spooky project to whip up this weekend, you are in the right place! Today, I am thrilled to share my new zombie bunny crochet pattern with all of you. This miniature amigurumi rabbit is packed with quirky character, from his mismatched stitched-on details to the bright red heart on his chest.
The best part about this zombie bunny crochet pattern? It is the ultimate “stash buster” project! It requires only a tiny amount of sport weight cotton yarn, making it the perfect way to clear out those beige, gray, and red scraps left in your yarn basket. Because it is so small and quick to make, it brings instant satisfaction and a lot of fun.
One Pattern, So Many Uses!
This little guy is as versatile as he is charming. You can easily adapt this design into a variety of fun, practical accessories:
- Pencil Topper: Slide him onto a pencil to bring a touch of personality to your workspace.
- Fridge Magnet: Glue a small magnet onto the back of your finished bunny to level up your kitchen decor.
- Spooky Bag Charm: Attach a keychain loop and let this little zombie tag along on your backpack or purse.
Whether you love goth aesthetics, want to get a head start on Halloween crafting, or just want a bite-sized project to work on today, this mini rabbit is ready for your hook. Let’s grab our materials and start crocheting!
New to Amigurumi? No Problem!
If you are new to making crocheted toys, don’t worry at all—I’ve got you covered!
- If you need help choosing the right yarn or picking the perfect hook size for this project, check out my comprehensive guide on Amigurumi for Beginners.
- Finding it a bit tricky to read the pattern steps? Pop over to my Crochet Abbreviations post to quickly master all the terms used here.
- And if you need a quick refresher on how to make the stitches, my How to Crochet Basic Stitches tutorial is packed with step-by-step written instructions and helpful video tutorials to guide your hands.
🌸 Choose how you want to craft:
- 🌐 Read it free on this blog (supported by ads).
- 📄 Prefer a printable PDF? Get the clean, ad-free PDF version on my Ko-fi shop for symbolic price 💖
🛠️ Pattern Details
- Skill Level: Advanced Beginner / Intermediate
- Finished Size: Approx. 3.1 inches tall and 1.7 inches wide ($8 \times 4.5\text{ cm}$) when using a 2 mm crochet hook.
🧵 Materials List
- Yarn: I use a 100% cotton yarn from my local store in beige, grey, black, and red. The best match and my top recommendation for this pattern is Paintbox Yarns Cotton DK.
- Hook: I used a 2mm hook. I highly recommend Clover Amour Hooks for the best experience.
- Tools & Supplies:
- Fiberfill, 8mm safety eye, scissors, and a tapestry needle, stitch markers.
- Find all these essentials here: Crochet Supplies & Accessories.
- Optional Accessories (depending on your choice):
- For a Fridge Magnet: A small strong magnet and craft glue (or a hot glue gun).
- For a Bag Charm: A keychain ring or a lobster clasp.
- For a Pencil Topper: No extra materials needed—just the finished amigurumi!
📋 Crochet Abbreviations
| Abbreviation | Meaning |
| MR | Magic Ring |
| CH | Chain |
| SC | Single Crochet |
| HDC | Half Double Crochet |
| DC | Double Crochet |
| BLO | Back Loop Only |
| FLO | Front Loop Only |
| INC | Increase (2 sc in one stitch) |
| DEC | Decrease (invisible amigurumi decrease recommended) |
| SL ST | Slip Stitch |
| SK ST | Skip Stitch |
| BO | Bobble Stitch (5-dc bobble stitch) |
💡 A Note on Stitch Technique (Yarn Under)
Throughout this pattern, all sc (single crochet) stitches are worked using the Yarn Under (YU) method instead of the traditional yarn over.
This technique creates a tighter stitch tension and gives the stitches a neat, distinct “X” shape. It is highly recommended for amigurumi because it helps the toy hold its shape beautifully and prevents the stuffing from showing through. However, if you prefer the standard yarn over method, the pattern will still work perfectly!
Zombie Bunny Crochet Pattern
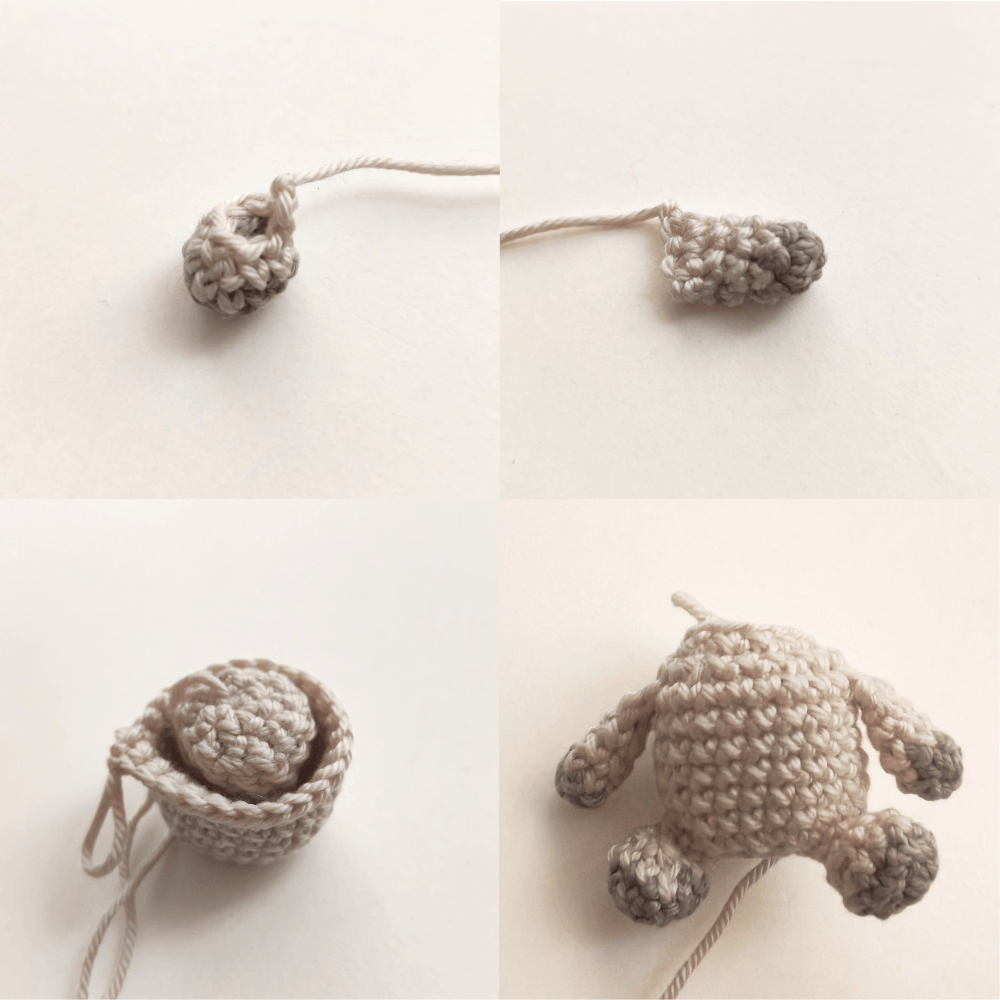
Legs (make 2)
Grey yarn
Round 1: mr, 6 sc [6]
Round 2: 6 x inc [12]
Switch to beige yarn
Round 3-4: 12 sc [12]
Fasten off, leaving a long tail for sewing.
Arms (make 2)
Grey yarn
Round 1: mr, 6 sc [6]
Round 2: 6 sc [6]
Switch to beige
Round 3-5: 6 sc [6]
Flatten and crochet through both sides to close: 3 sc.
Fasten off.
Body
Beige yarn
Important Note: This pattern offers two versions.
- Pencil Topper version: The first 9 rounds are worked with the “wrong side” facing out to create a recessed pocket for the pencil.
- Magnet / Bag Charm version: Skip the inner pocket and start directly with the modified instructions below.
Option 1: Pencil Topper Version
Working the inner pocket (Wrong side out):
Round 1: mr, 6 sc [6]
Round 2: 6 inc [12]
Round 3-9: 12 sc [12] (7 rounds)
Round 10: BLO (sc, inc) x 6 [18]
(Note: From Round 10 onwards, continue with the “right side” facing out as usual.)
Option 2: Magnet or Bag Charm Version
If you don’t need the pencil opening, start here:
Round 1: mr, 6 sc [6]
Round 2: BLO 6 inc [12]
Round 3: BLO (sc, inc) x 6 [18]
(After Round 3, continue with the rest of the body pattern starting from Round 11.)
Round 11-15: 18 sc [18]
Round 16 (In this round, you will attach the arms): 7 sc, 3 sc through both arm and body, 13 sc, 3 sc through both arm and body, 6 sc [32]
Stuff and sew the legs to the body, ensuring they are aligned with the arms.
Attach the gray yarn to Round 12 on the back and make the tail using a bobble stitch.
If you don’t know how to do a bobble stitch, that’s completely fine! You can simply make a separate tail with gray yarn as follows:
Round 1: mr, 6 sc [6]
Round 2: 6 sc [6]
Fasten off and sew it in place.
Round 17: (sc, dec) x 6 [12]
Stuff.
Round 18: FLO (sc, inc) x 6 [18]
Round 19: (sc, inc, sc) x 6 [24]
Round 20-24: 24 sc [24]
Place one 8mm safety eye between Rounds 21 and 22. For the other eye, embroider an “X” using black yarn.
Stuff.
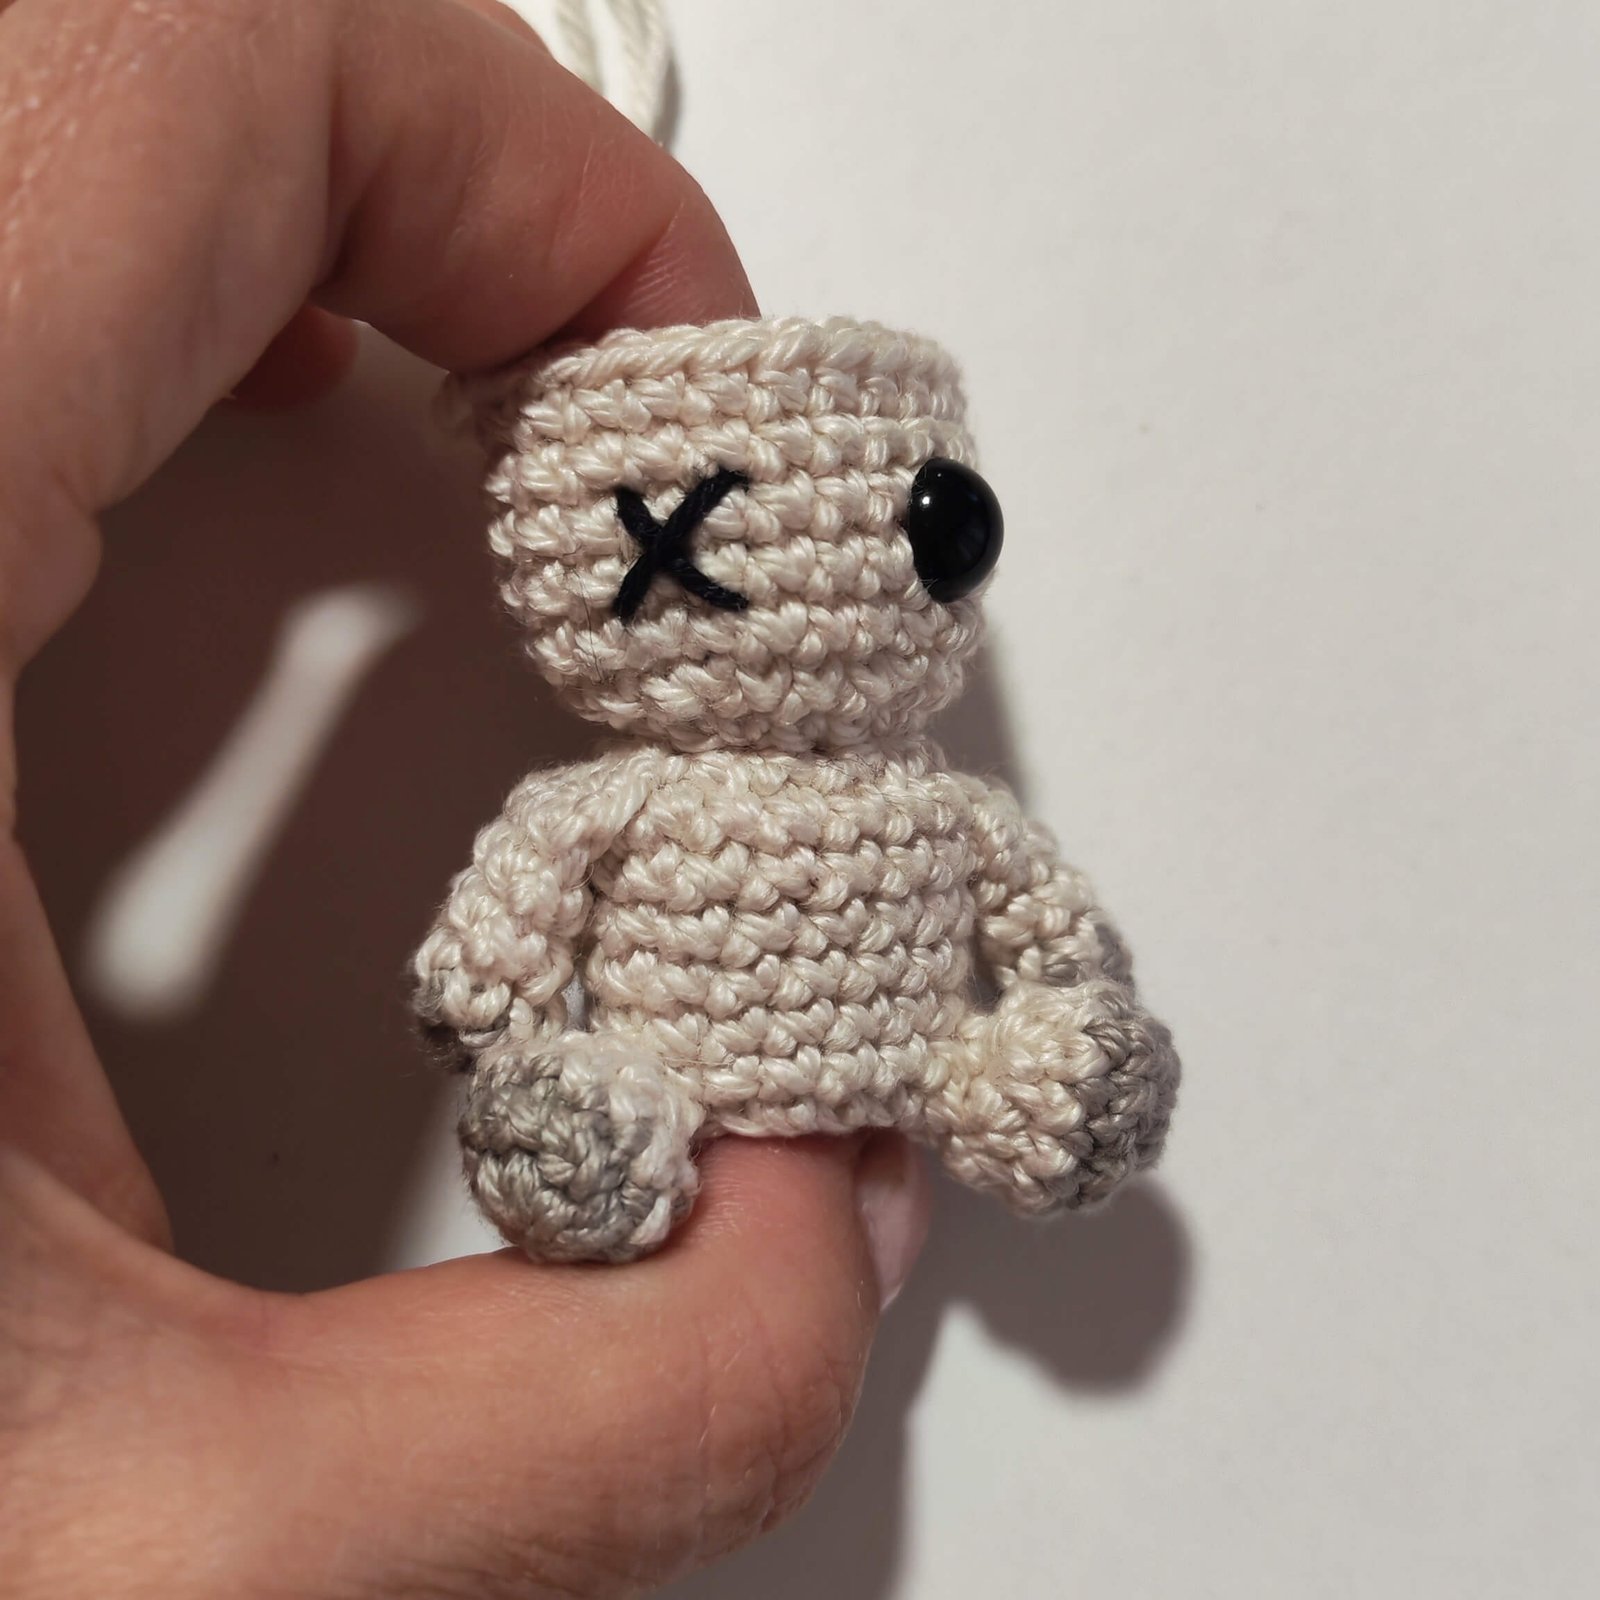
Round 25: (sc, dec, sc) x 6 [18]
Round 26: (sc, dec) x 6 [12]
Round 27: 6 x dec [6]
Fasten off and close.
Ears (make 2)
Grey yarn
Round 1: mr, 6 [6]
Round 2: (sc, inc) x 3 [9]
Round 3-5: 9 sc [9]
Round 6: (sc, dec) x 3 [6]
Flatten and crochet through both sides to close: 3 sc.
Fasten off.
Sew the ears side by side on top of the head, slightly off-center.
Heart
Red yarn
Round 1: mr, ch 2, 2 dc, 3 hdc, dc, 3 hdc, 2 dc, ch2, sl st
Fasten off
Sew the heart to the center of the belly.
Using black yarn, embroider the mouth and the “scars” down the center and on one side of the head, down the back, and around the arms and legs where the beige and gray colors meet
Loved this Pattern? Meet the Rest of the Crew!
If you enjoyed crocheting this little zombie rabbit, you will definitely love making Punkie the Rocker, another fun member of our cute monster collection! Don’t forget to keep an eye on the blog, as the rest of the spooky and quirky crew will be arriving very soon.
Prefer Ad-Free Offline Crafting?
If you prefer to crochet on the go or just want a clean, ad-free experience without an internet connection, you can purchase the premium PDF version of this pattern. It is available for instant download on both Etsy and Ravelry, allowing you to easily print it out or keep it saved on your favorite device.
Join the Family Newsletter!
Want to be the first to know when a new free pattern or video tutorial drops? Sign up for our newsletter today! By joining, you’ll get updates, exclusive creative content, and plenty of crochet inspiration delivered straight to your inbox so you never miss out on any upcoming designs.
Pin It for Later!
Since this pattern is free, please help me keep it that way by not taking screenshots. Keeping the page open while you work supports my studio! Happy crocheting!✨
Pingback: Perfect Amigurumi Guide Part 2: Why You Should Use the Amigurumi Yarn Under Technique - EmmaS Dolls
Pingback: Free Crochet Stitched Hand Pattern – Spooky Halloween Decor - EmmaS Dolls
Pingback: Free Crochet Pumpkin Pattern: Easy Fall Amigurumi Decor - EmmaS Dolls